Product Image Generation Tutorial
Learn how to generate the perfect editorial images for your fashion products.
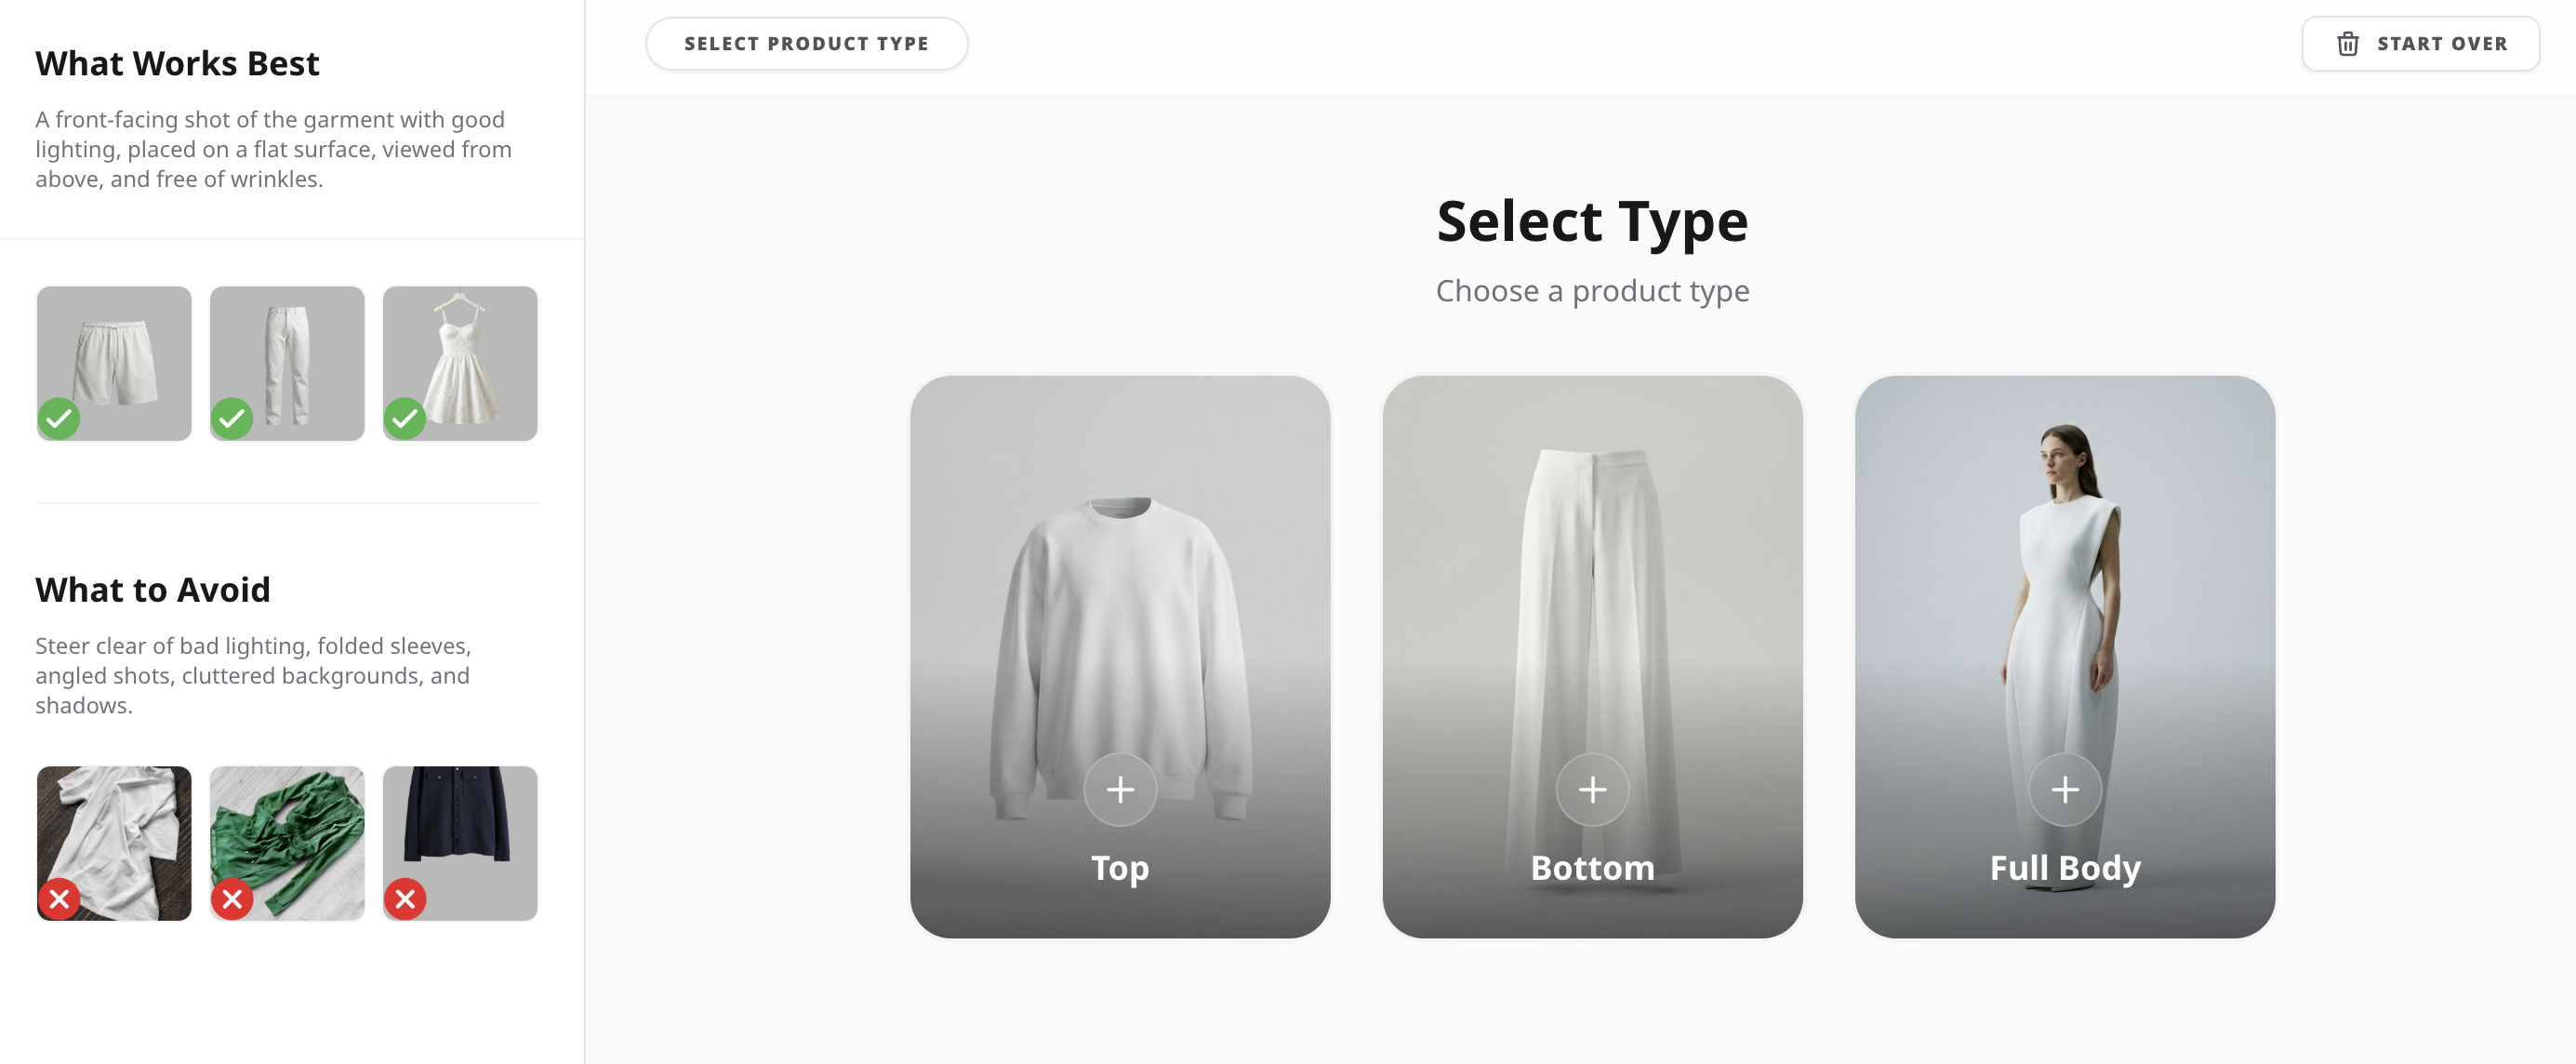
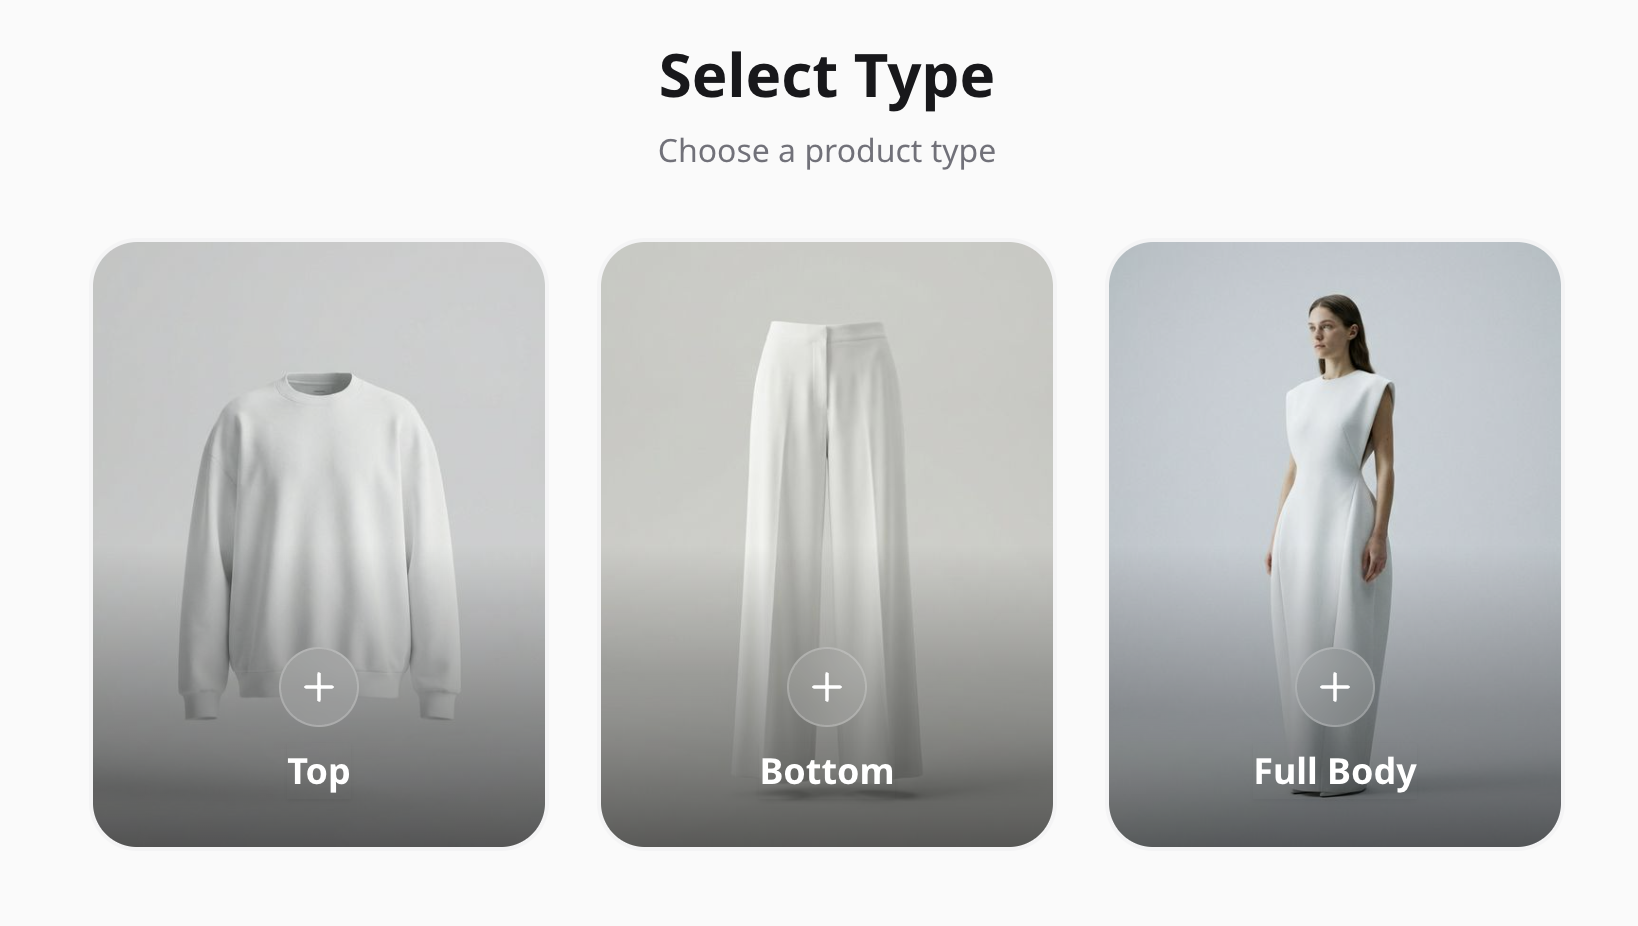
1. Select Product Type
In this step, choose the type of garment you want to generate images for. The system provides three main options: Top, Bottom, or Full Body. Selecting the correct type helps the AI understand how the product should appear on the model. This step ensures the outfit is built correctly and improves the accuracy of the generated images. Make sure to select the option that best matches your product before moving to the next step.
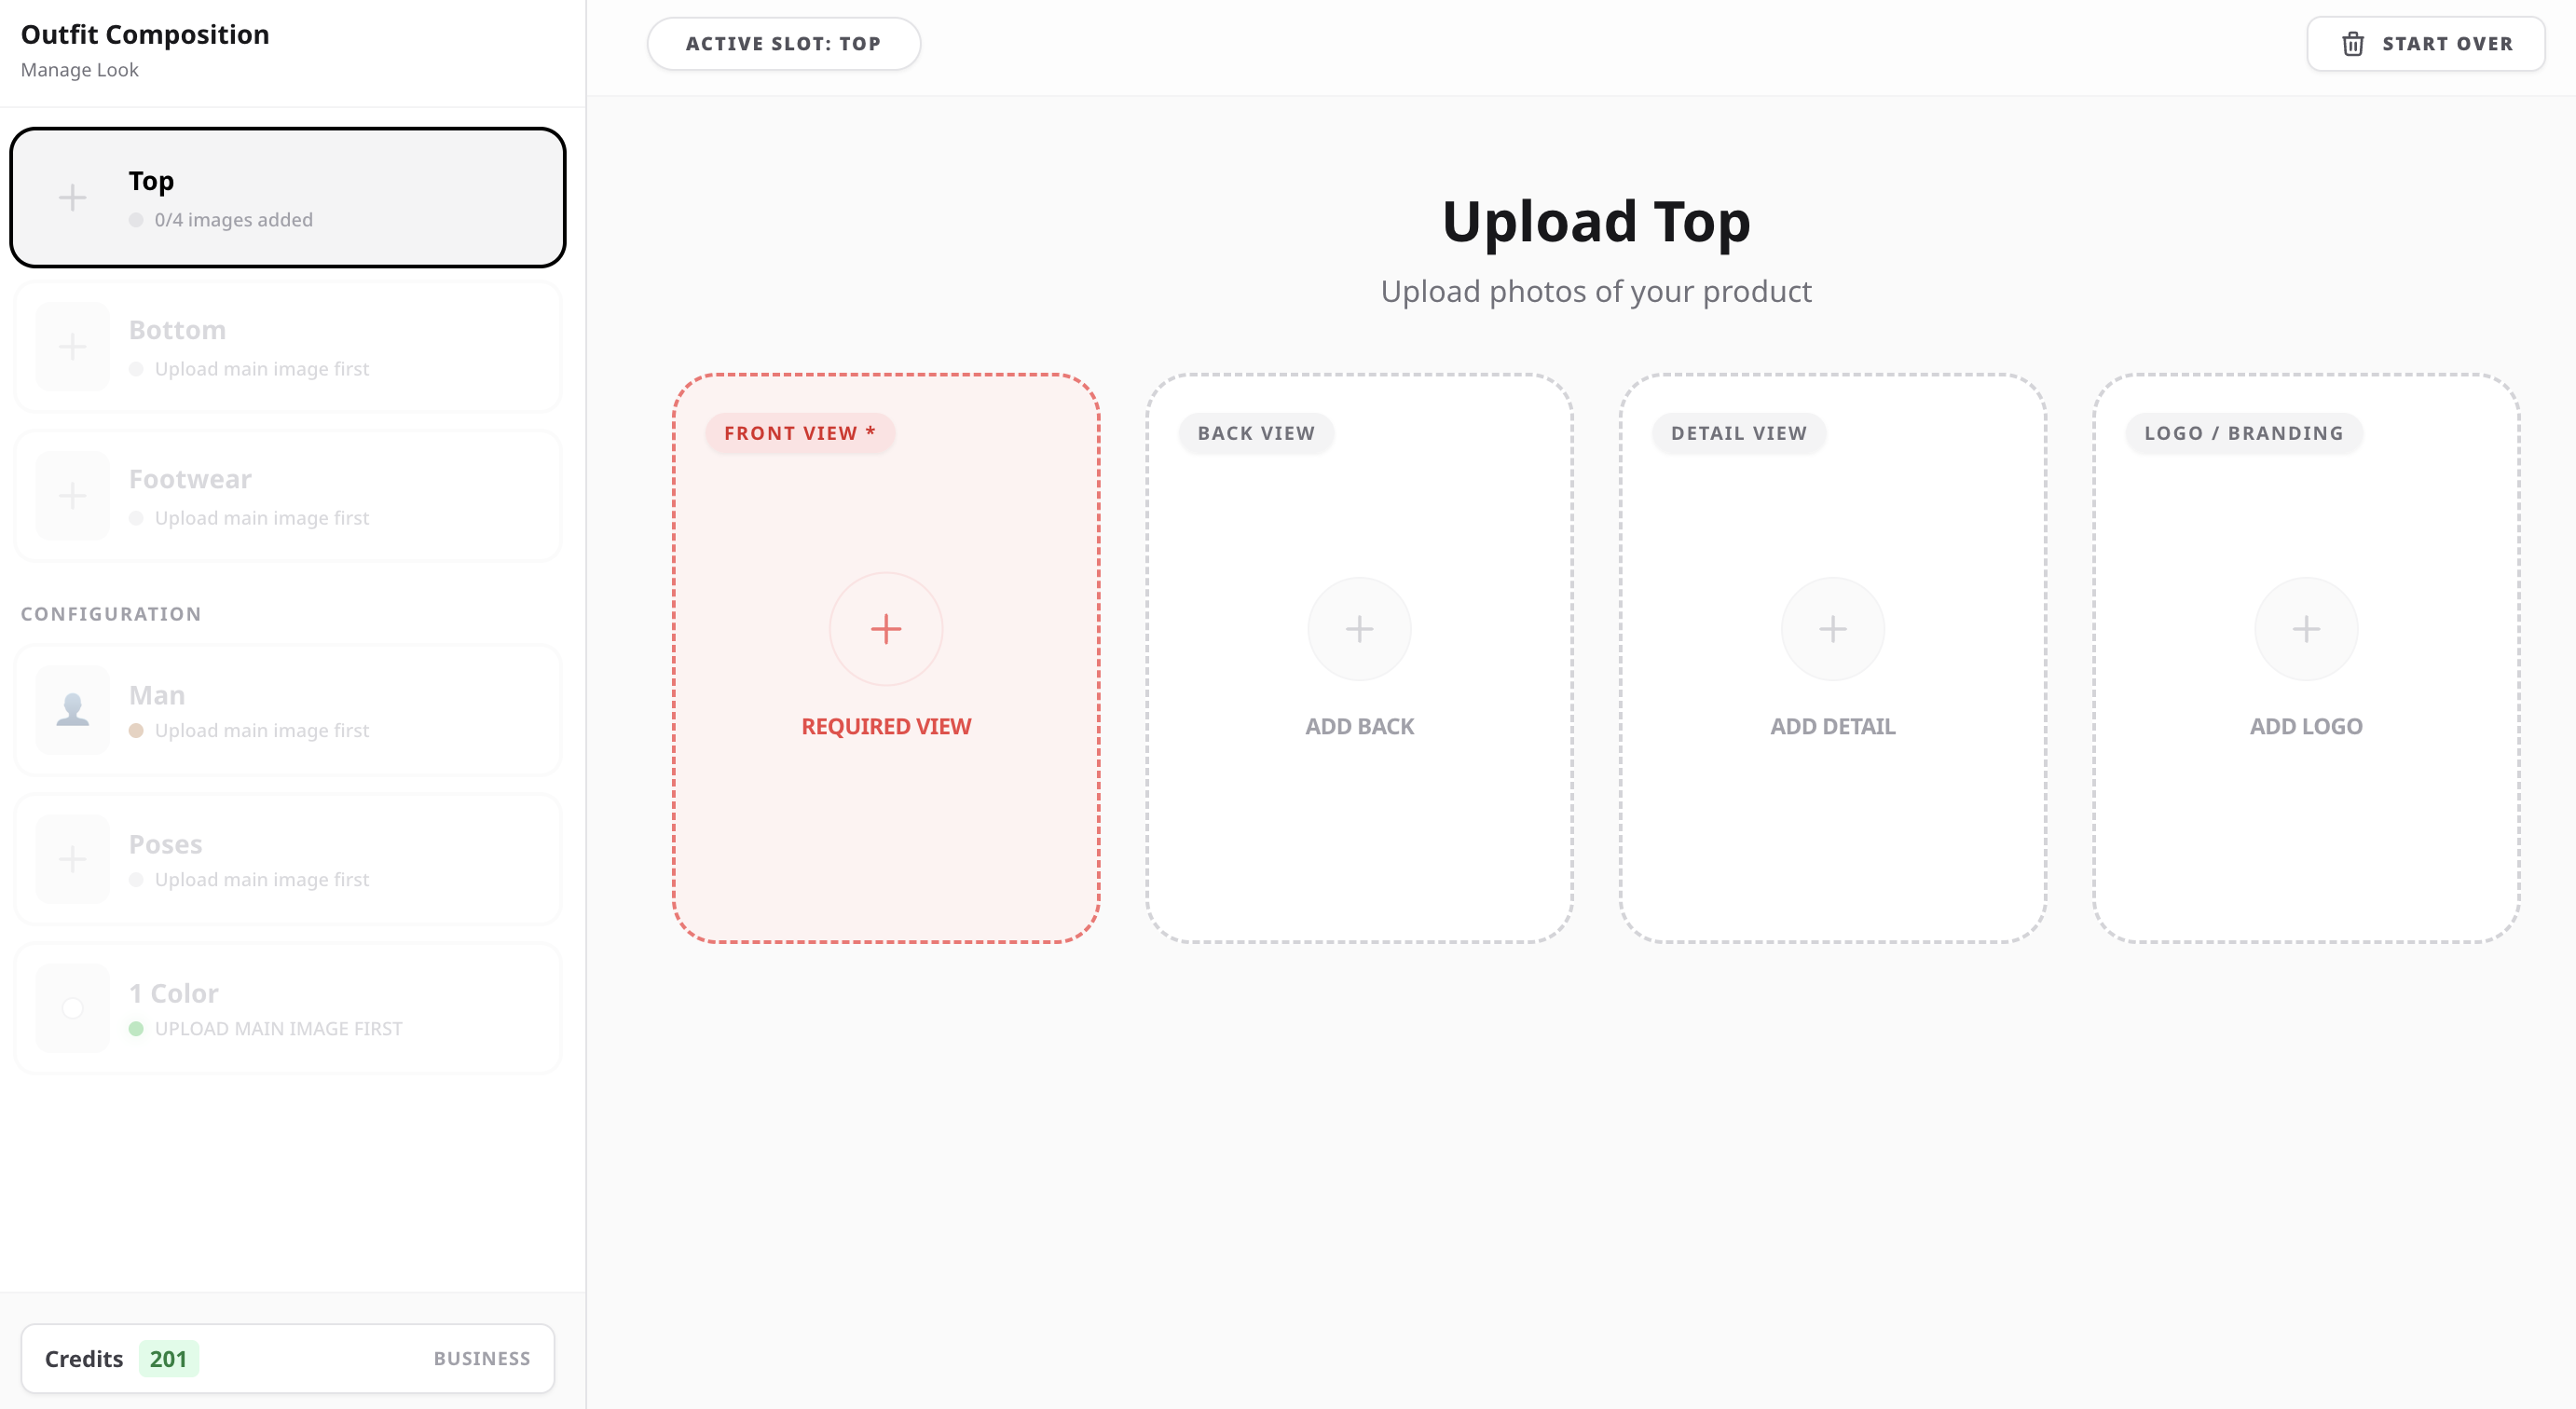
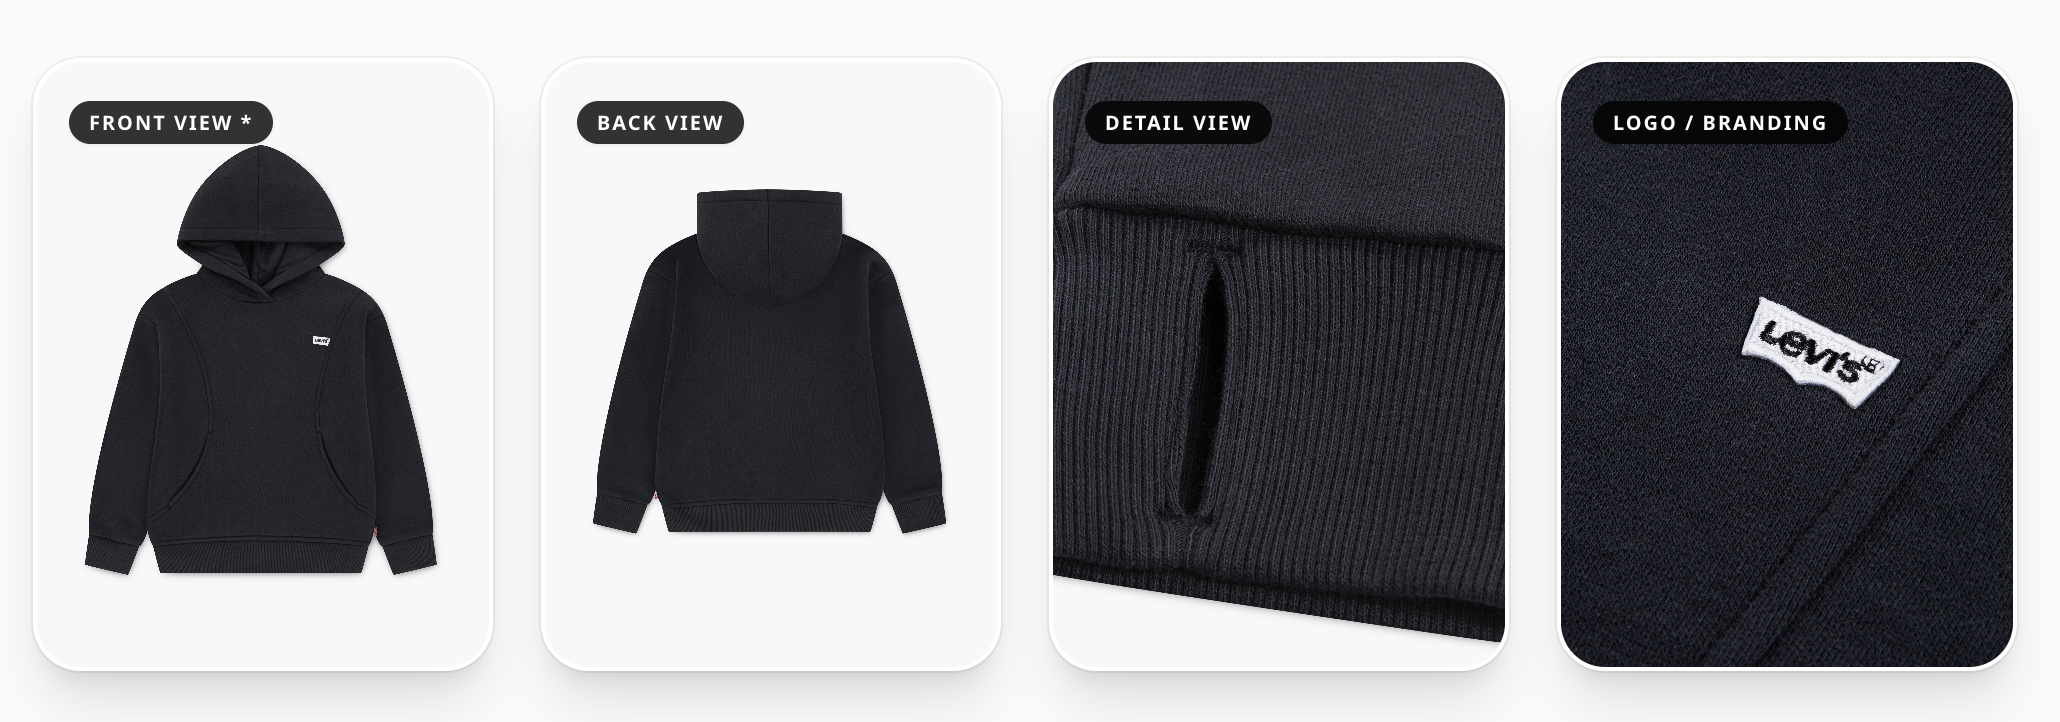
2. Upload Product Images
In this step, upload clear images of your product so the system can accurately understand the garment. The Front View image is required, while the Back, Detail, and Logo/Branding images are optional but highly recommended. Providing more reference images helps the AI better understand the structure, fabric, and design of the product. This is especially important if the item contains logos, text, embroidery, or unique stitching details. The more visual information you provide, the more accurate and realistic the generated results will be.
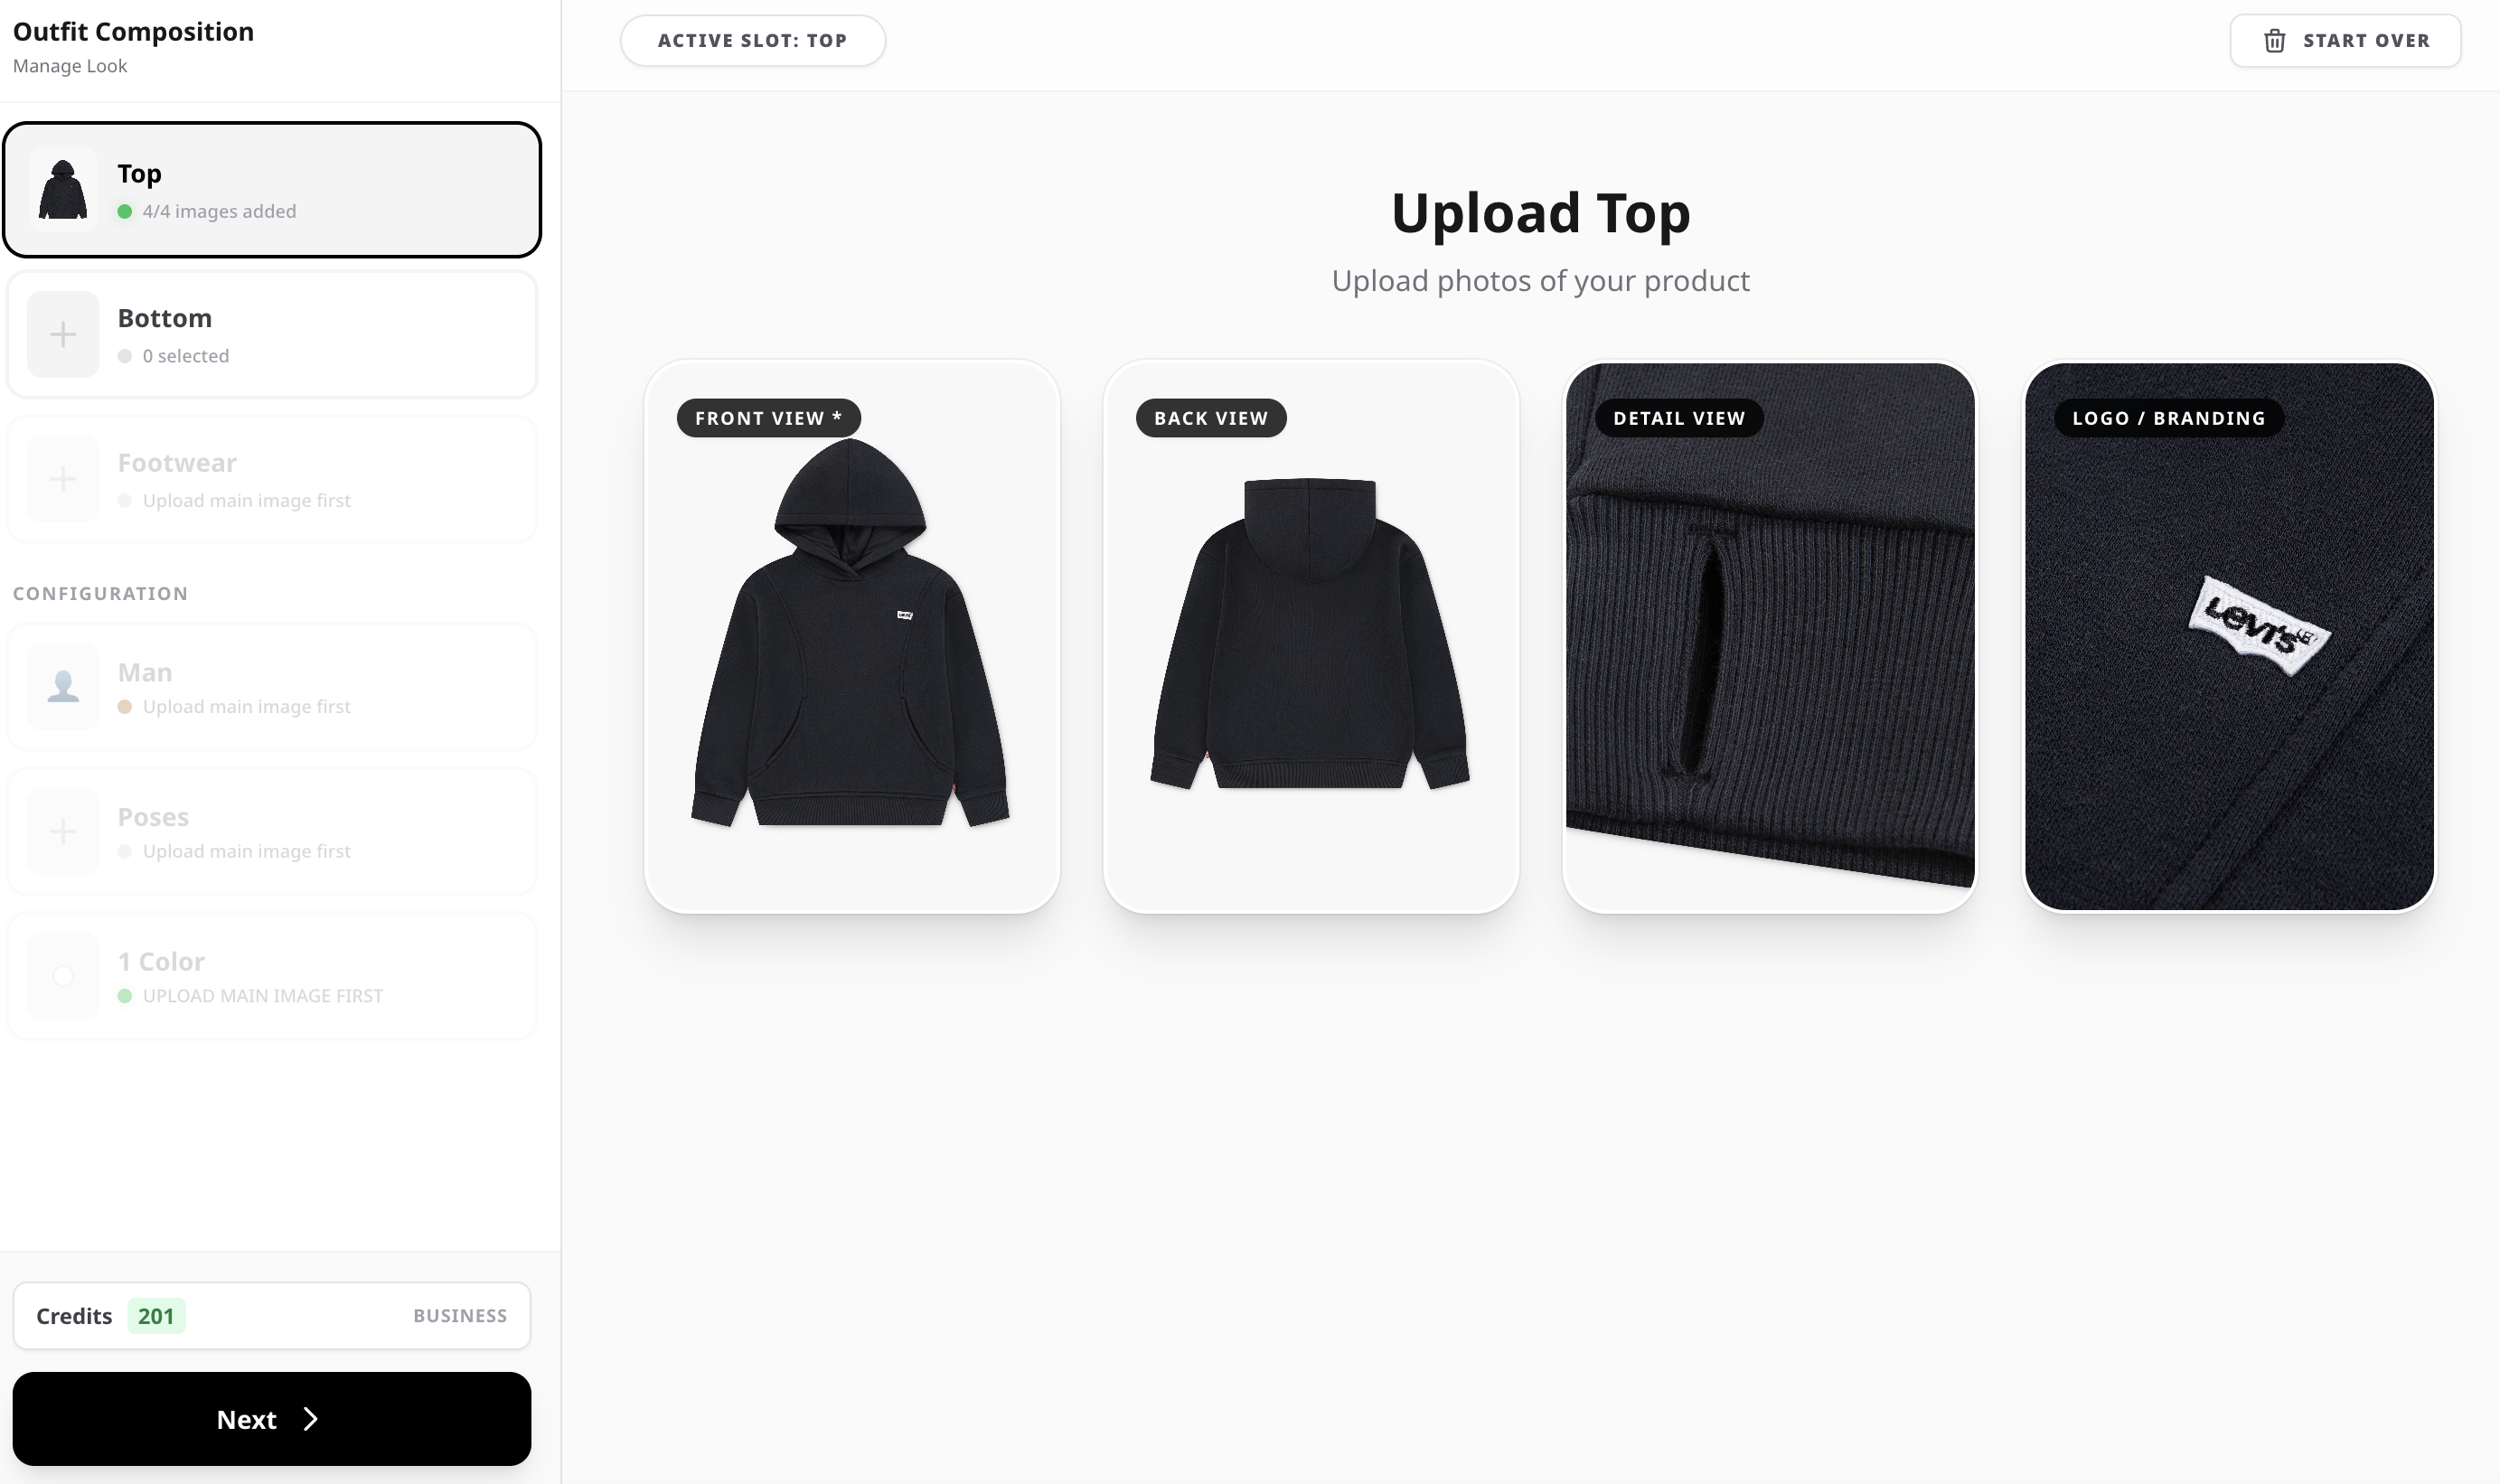
3. Uploading Product Images
In this step, you upload the reference images of your product. The Front View image is required, while Back, Detail, and Logo/Branding images are optional. These additional images help the system better understand the structure, fabric, and branding of the garment. If your product includes logos, text, embroidery, or complex stitching, adding detail images will significantly improve the accuracy of the generated results. However, if the item is simple and does not contain complex details, a clear front image alone may be sufficient.
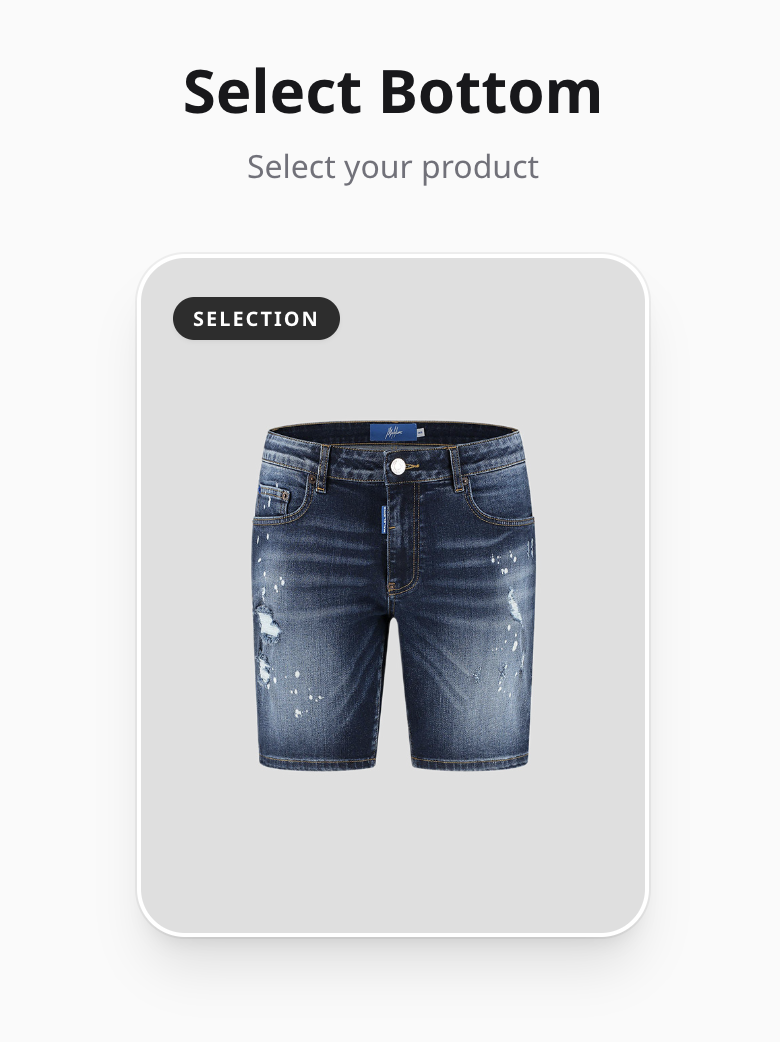
4. Selecting a Bottom Garment
In this step, you can choose a bottom garment from a collection already available inside the studio. There is no need to upload images from your device. Our team has carefully selected a variety of pants, shorts, and other bottom pieces to save you time and simplify the process. These items are optimized to work well with the AI system. Using these pre-selected garments helps ensure balanced outfits and higher-quality generated images.


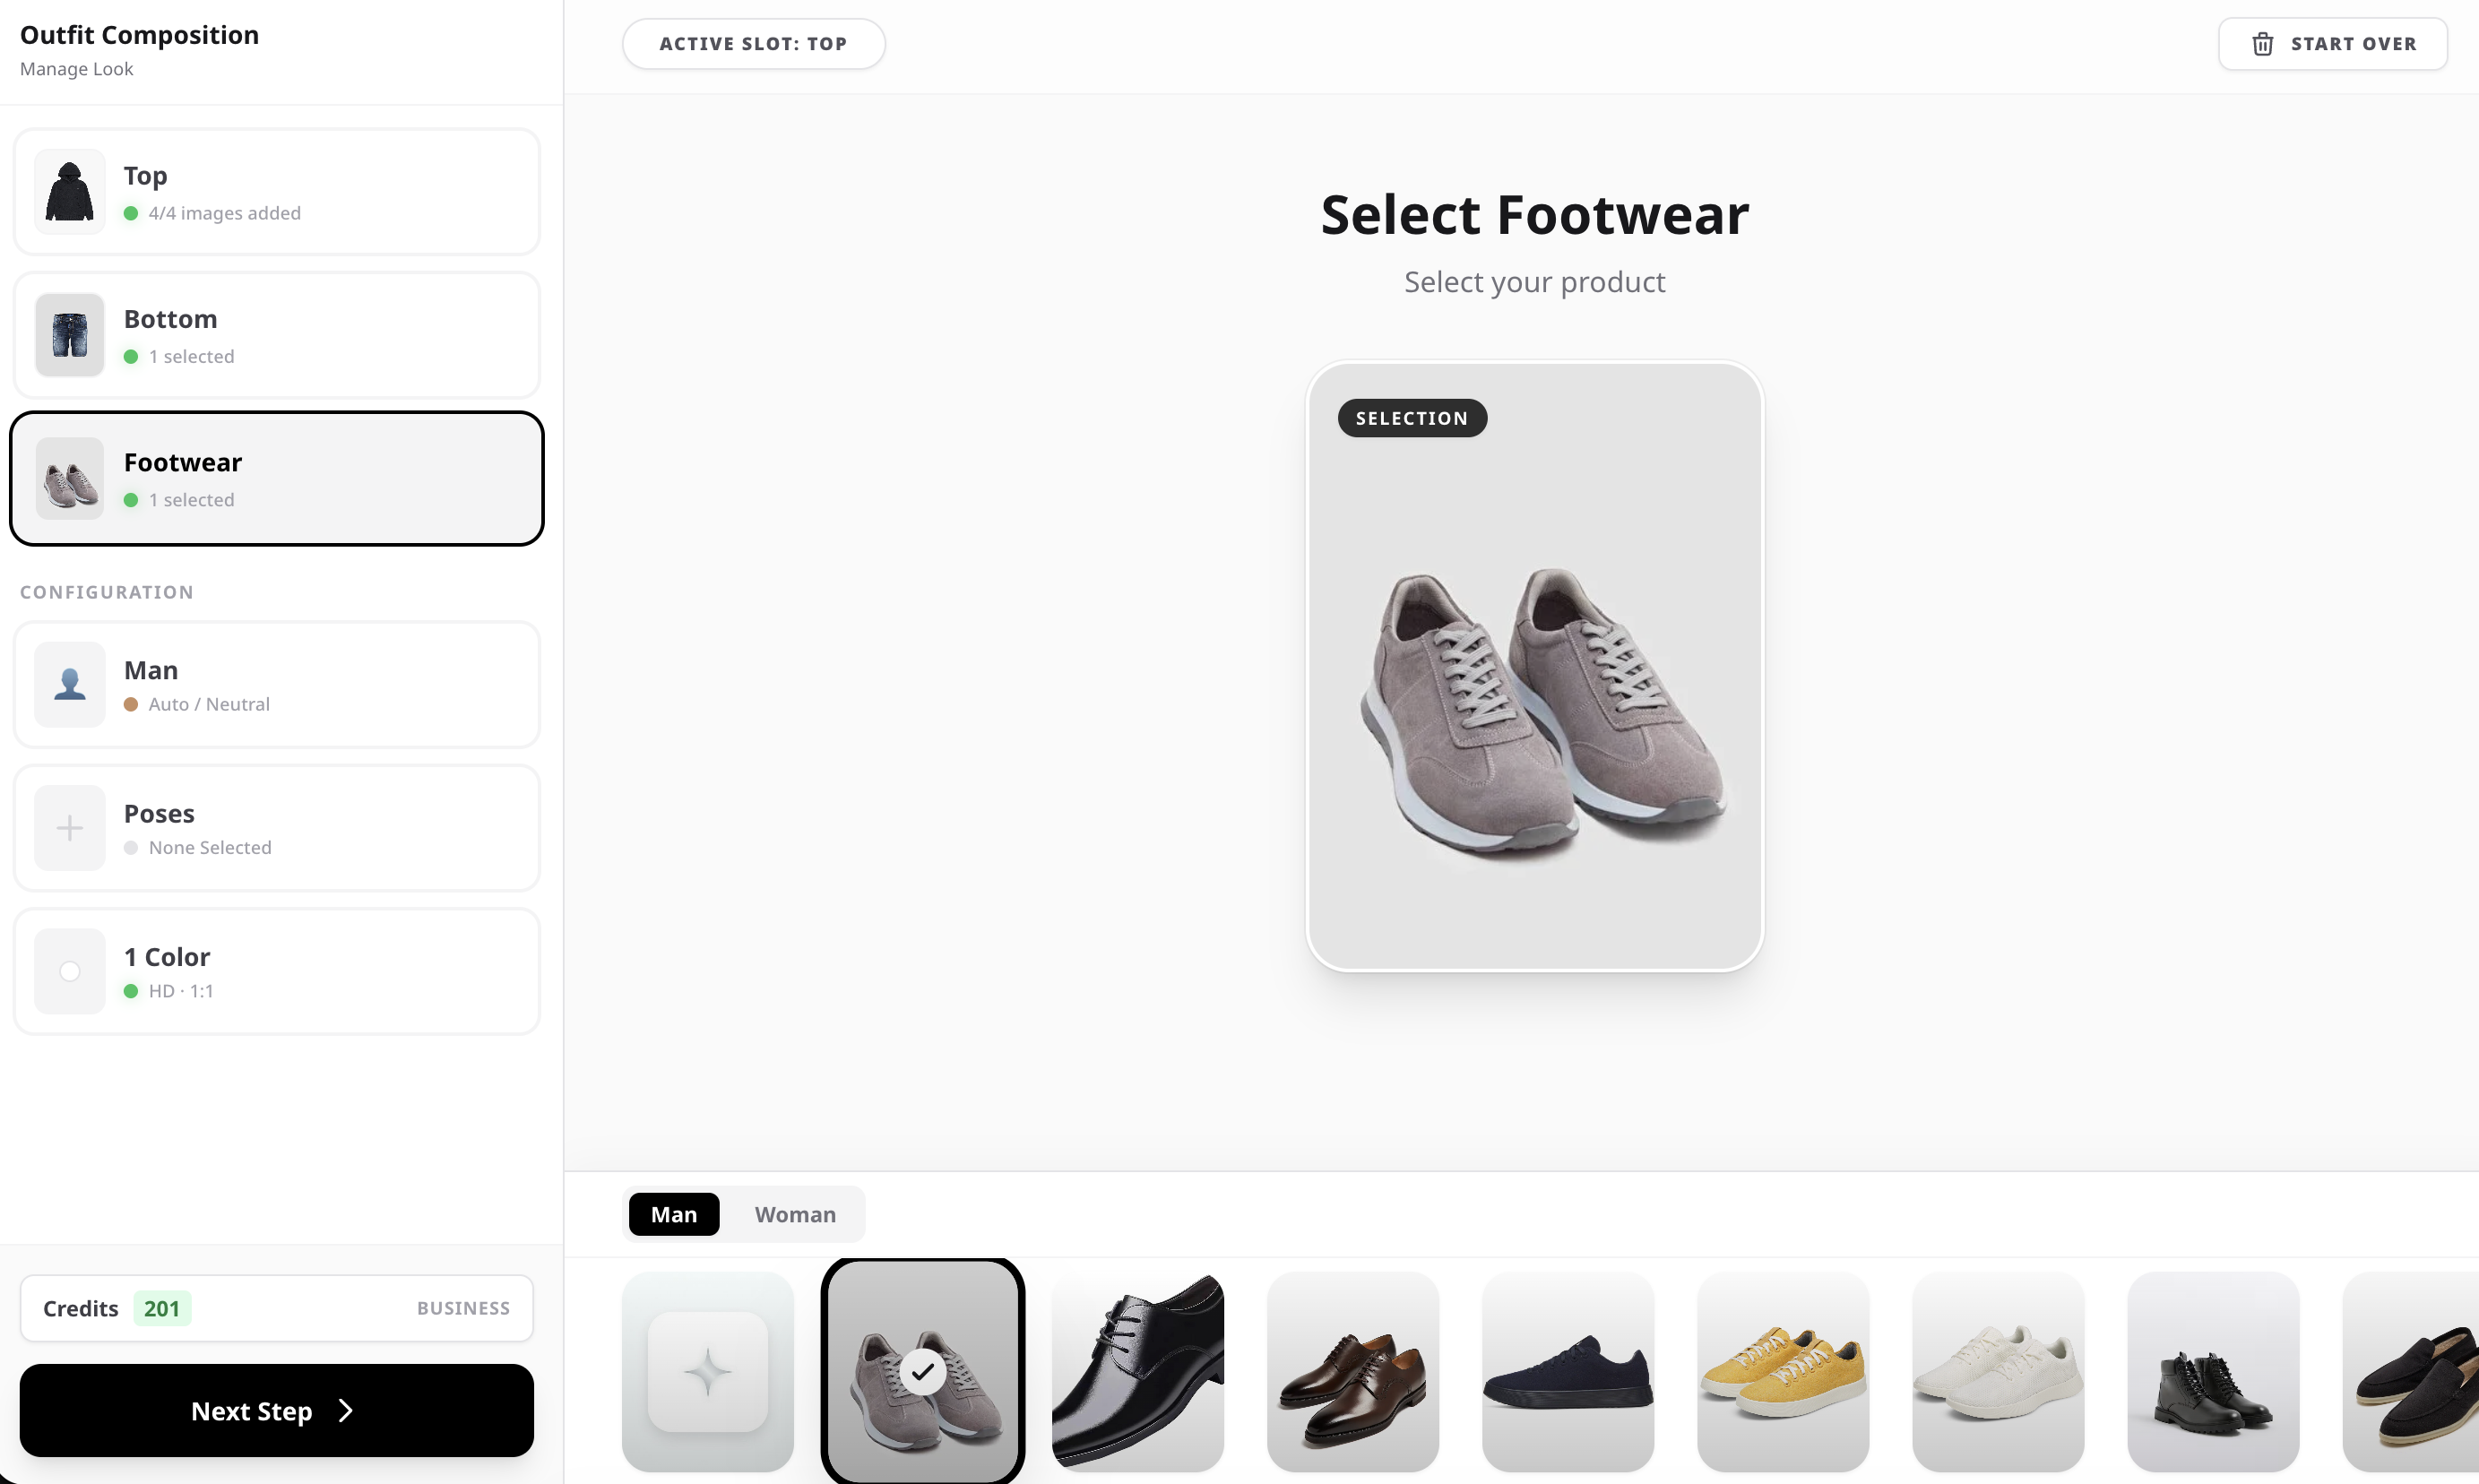
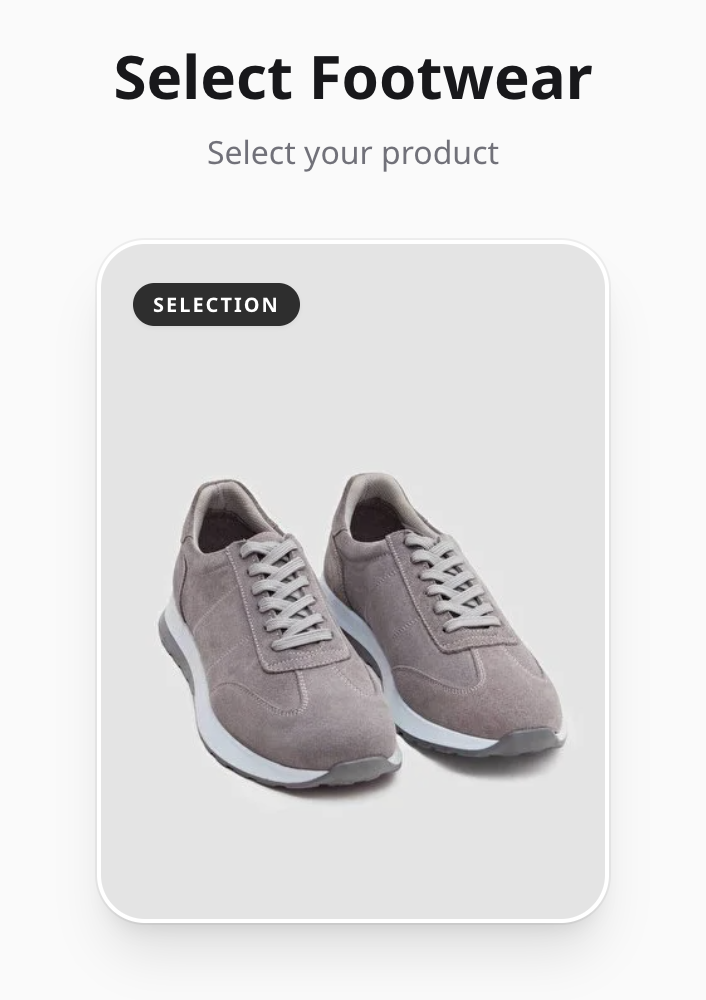
5. Selecting Footwear
In this step, you can choose footwear to complete the outfit. All shoes are already available inside the studio, so there is no need to upload images from your device. You can switch between Men and Women to browse different footwear options such as sneakers, casual shoes, and formal styles. These items were carefully selected to work well with the AI system. Using the built-in footwear options helps create more realistic and balanced outfits while keeping the process simple and fast.


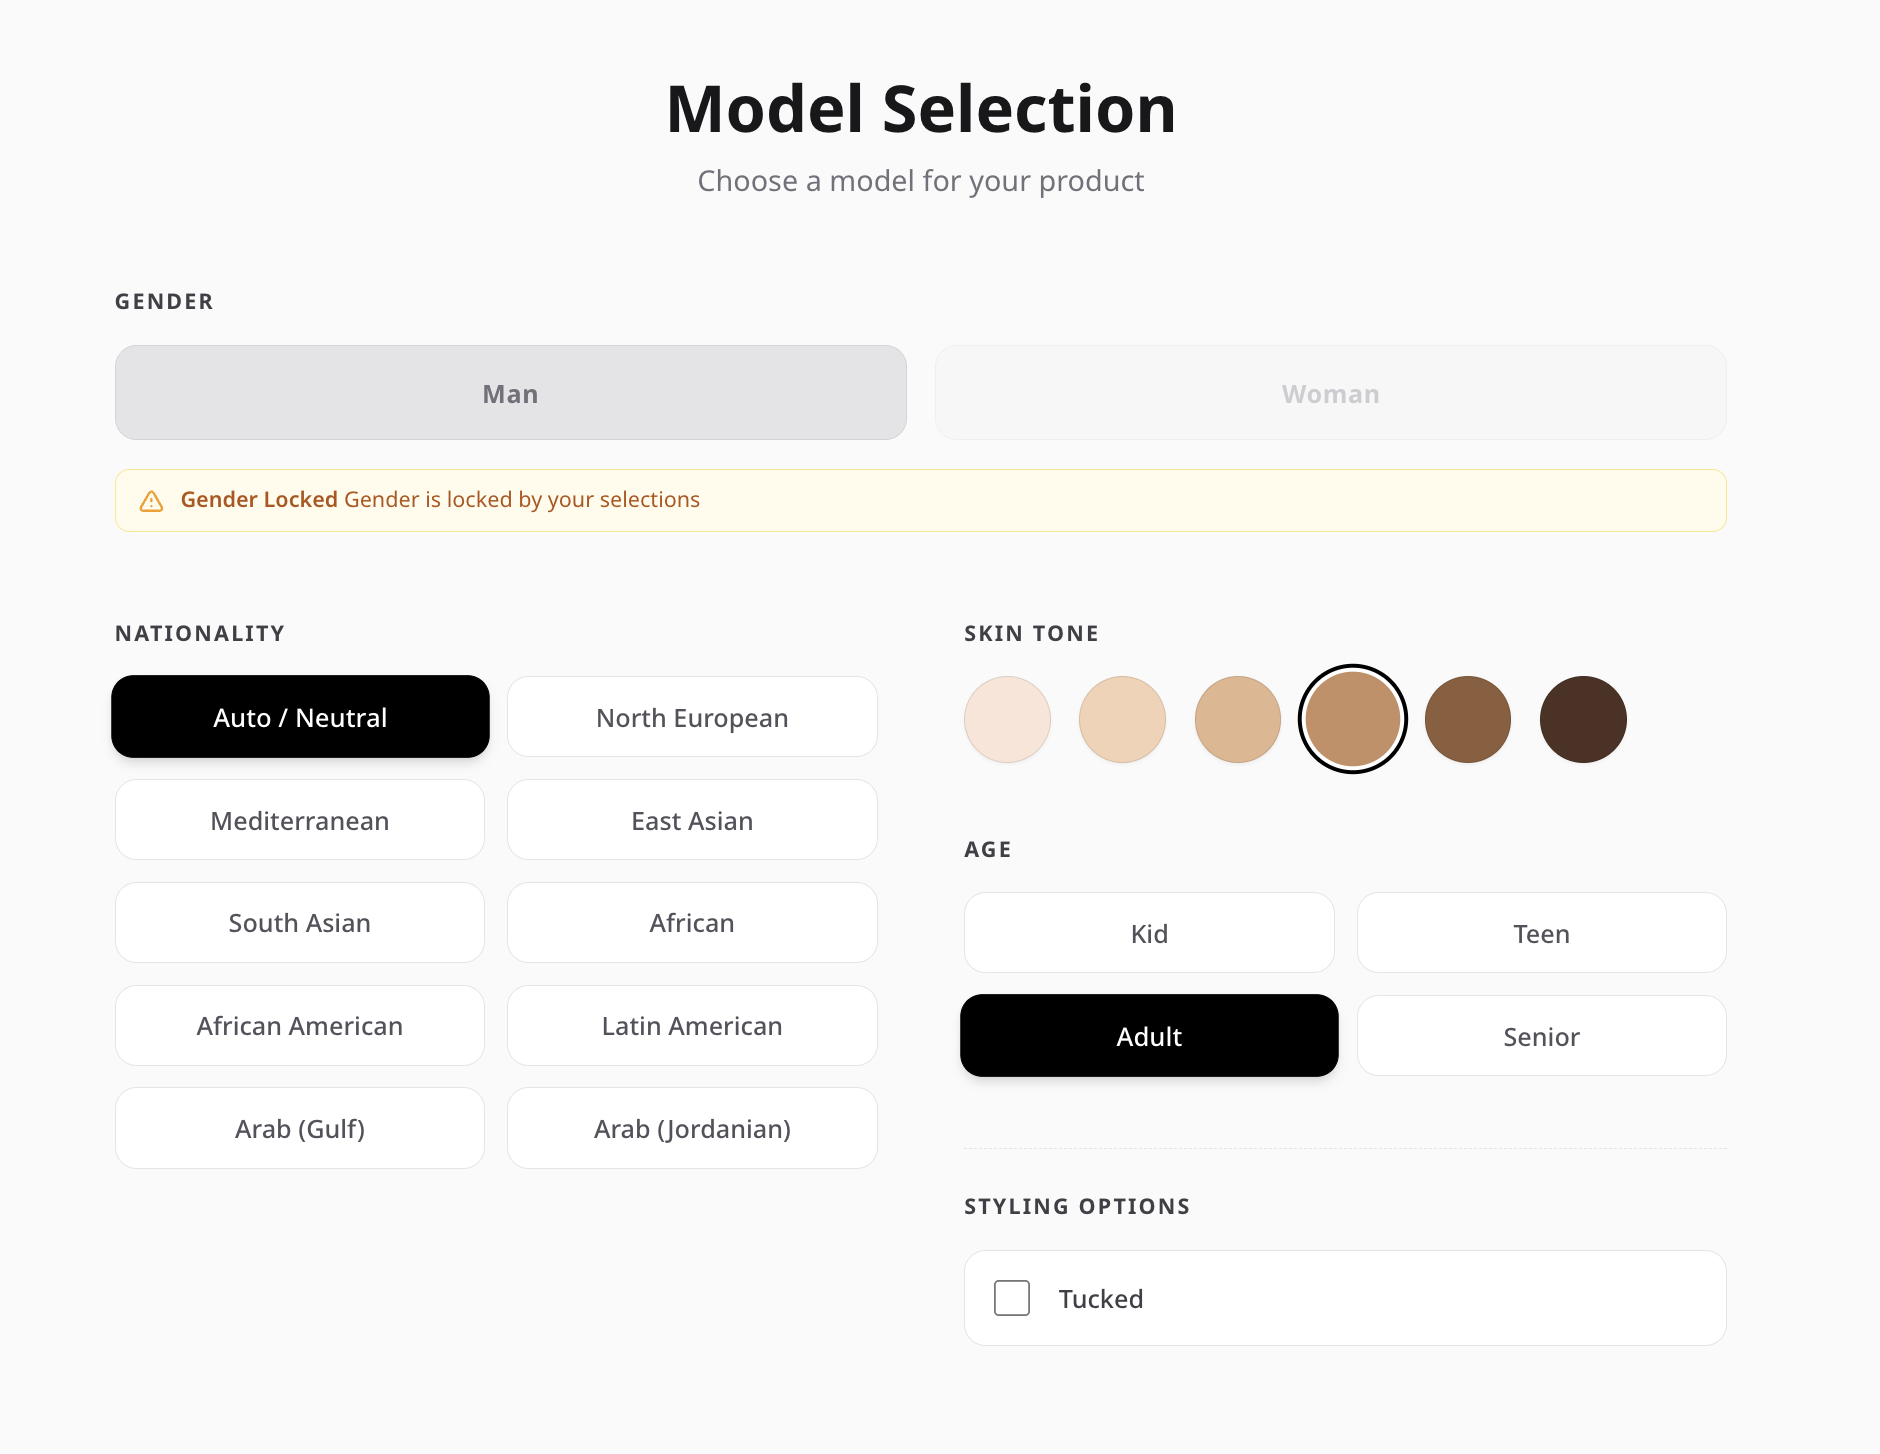
6. Model Selection
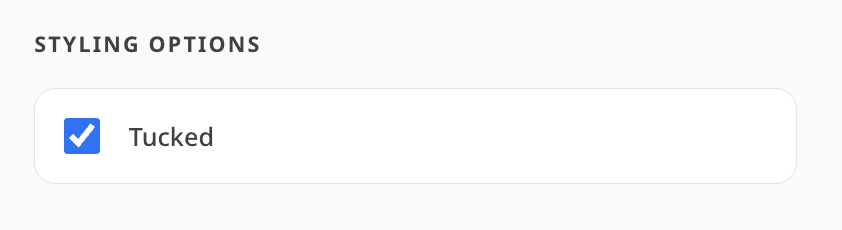
In this step, you choose the model that will wear and present your product in the generated images. You can select the gender, nationality or look, skin tone, and age group to better match your target audience or brand style. This page also includes styling options such as Tucked, which allows you to control how the garment is worn. When enabled, the top garment will appear tucked inside the pants, creating a more styled and realistic outfit presentation.
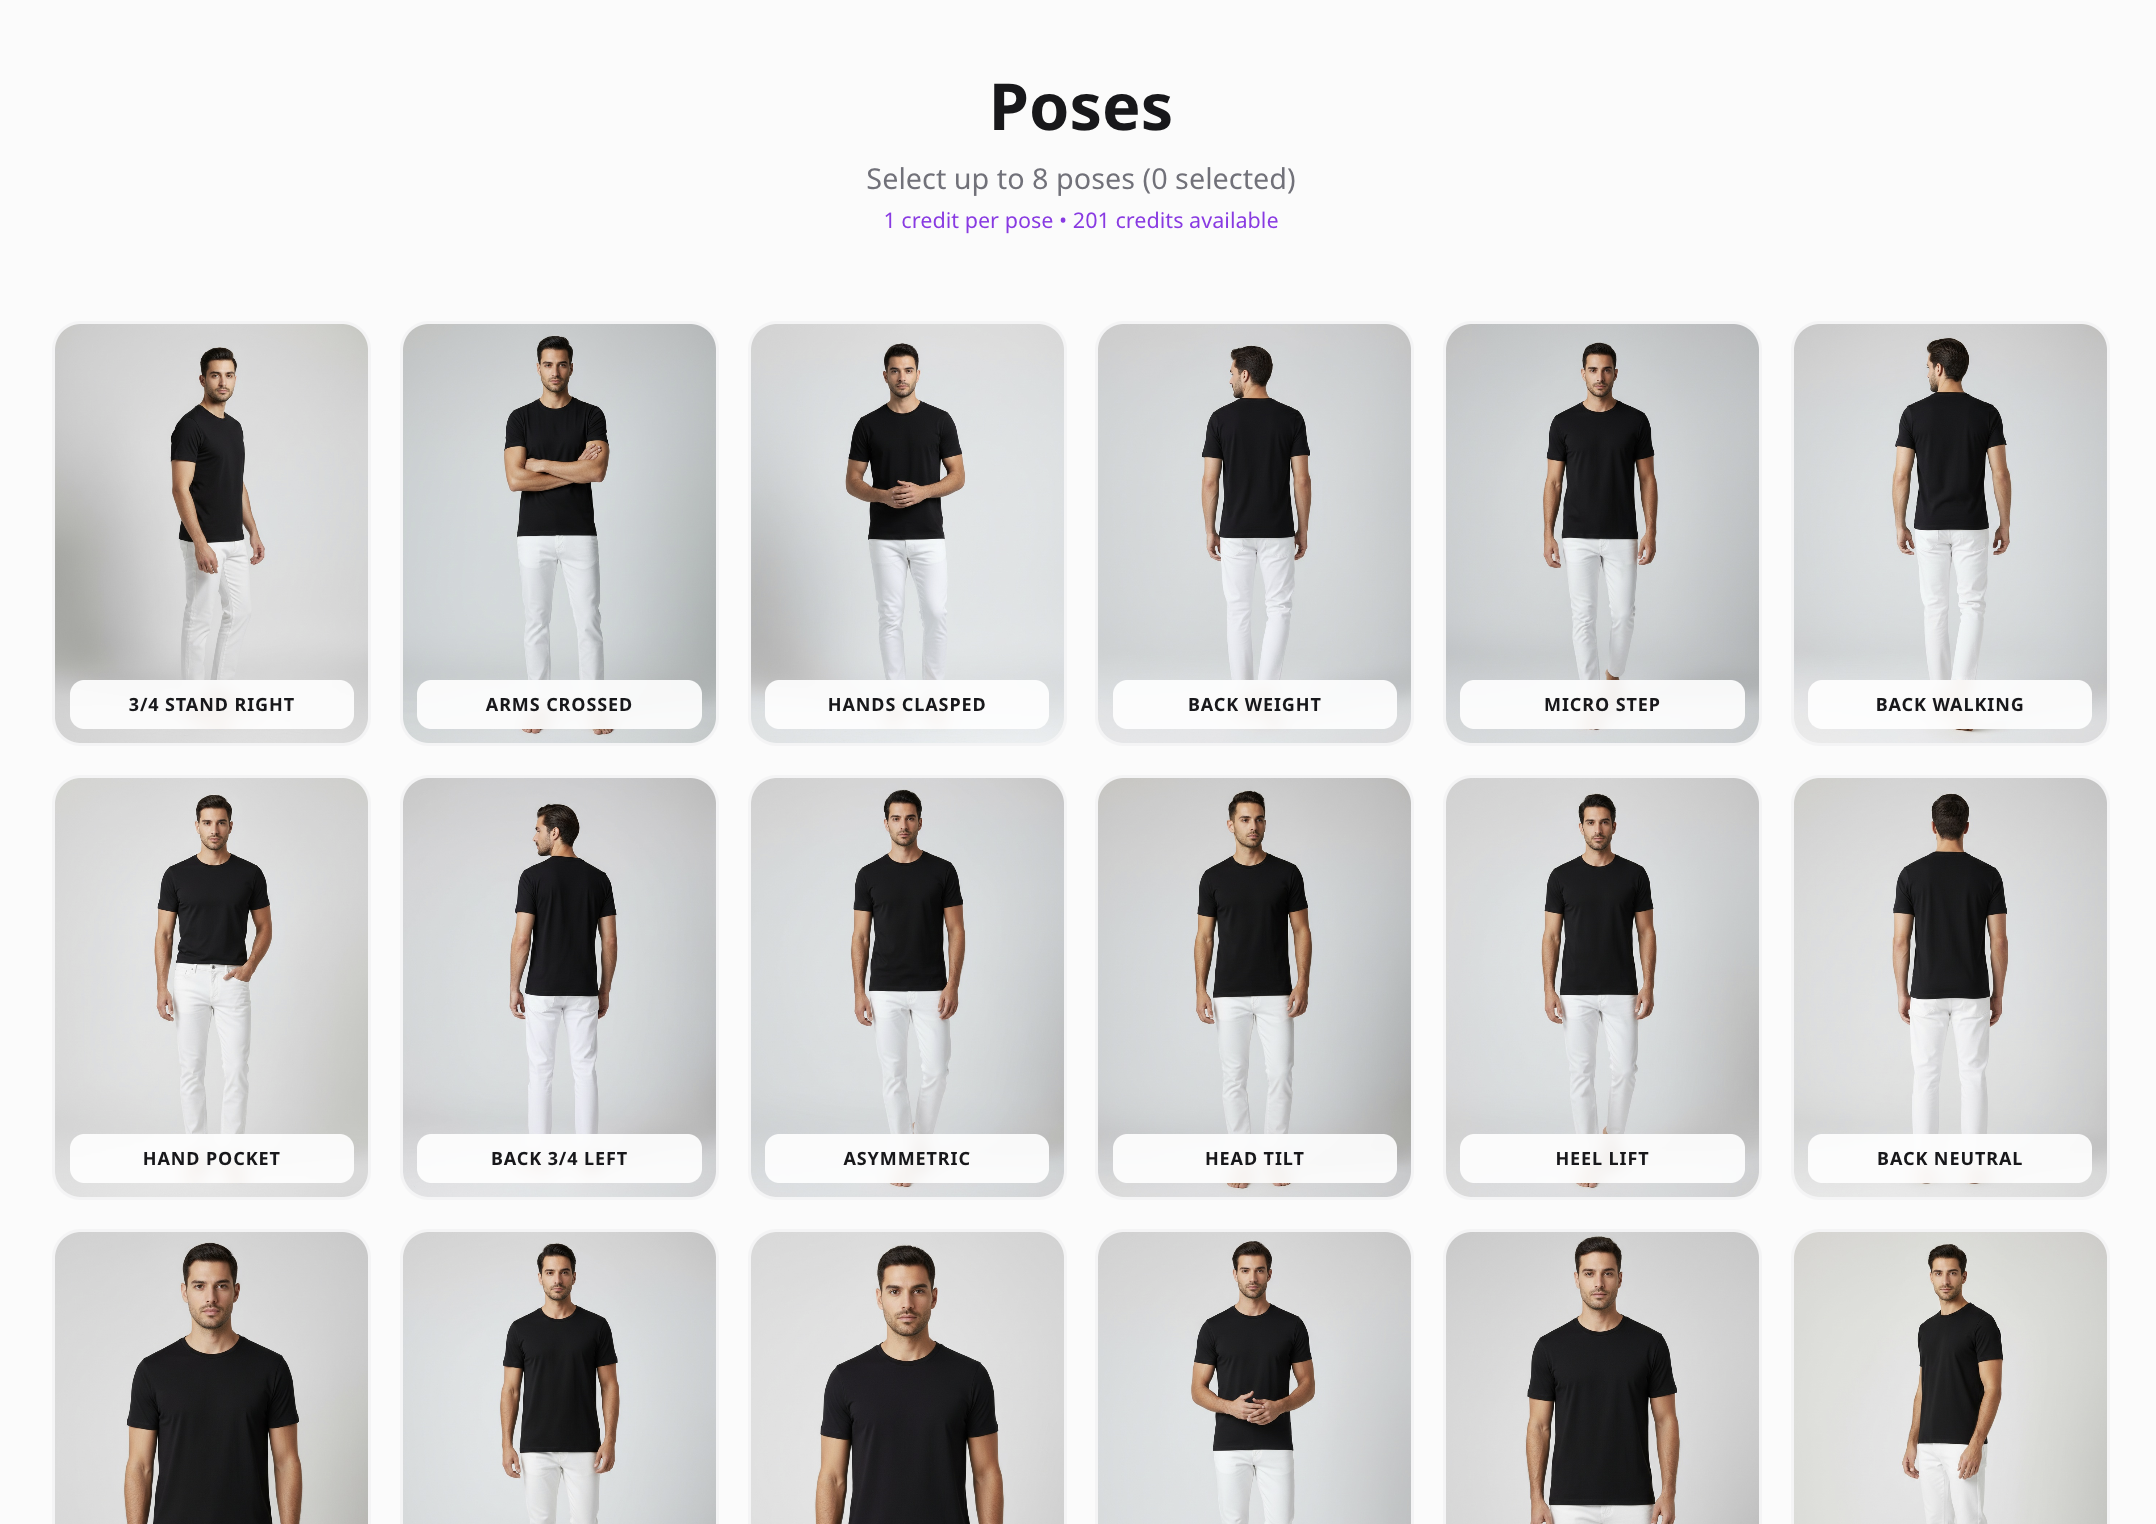
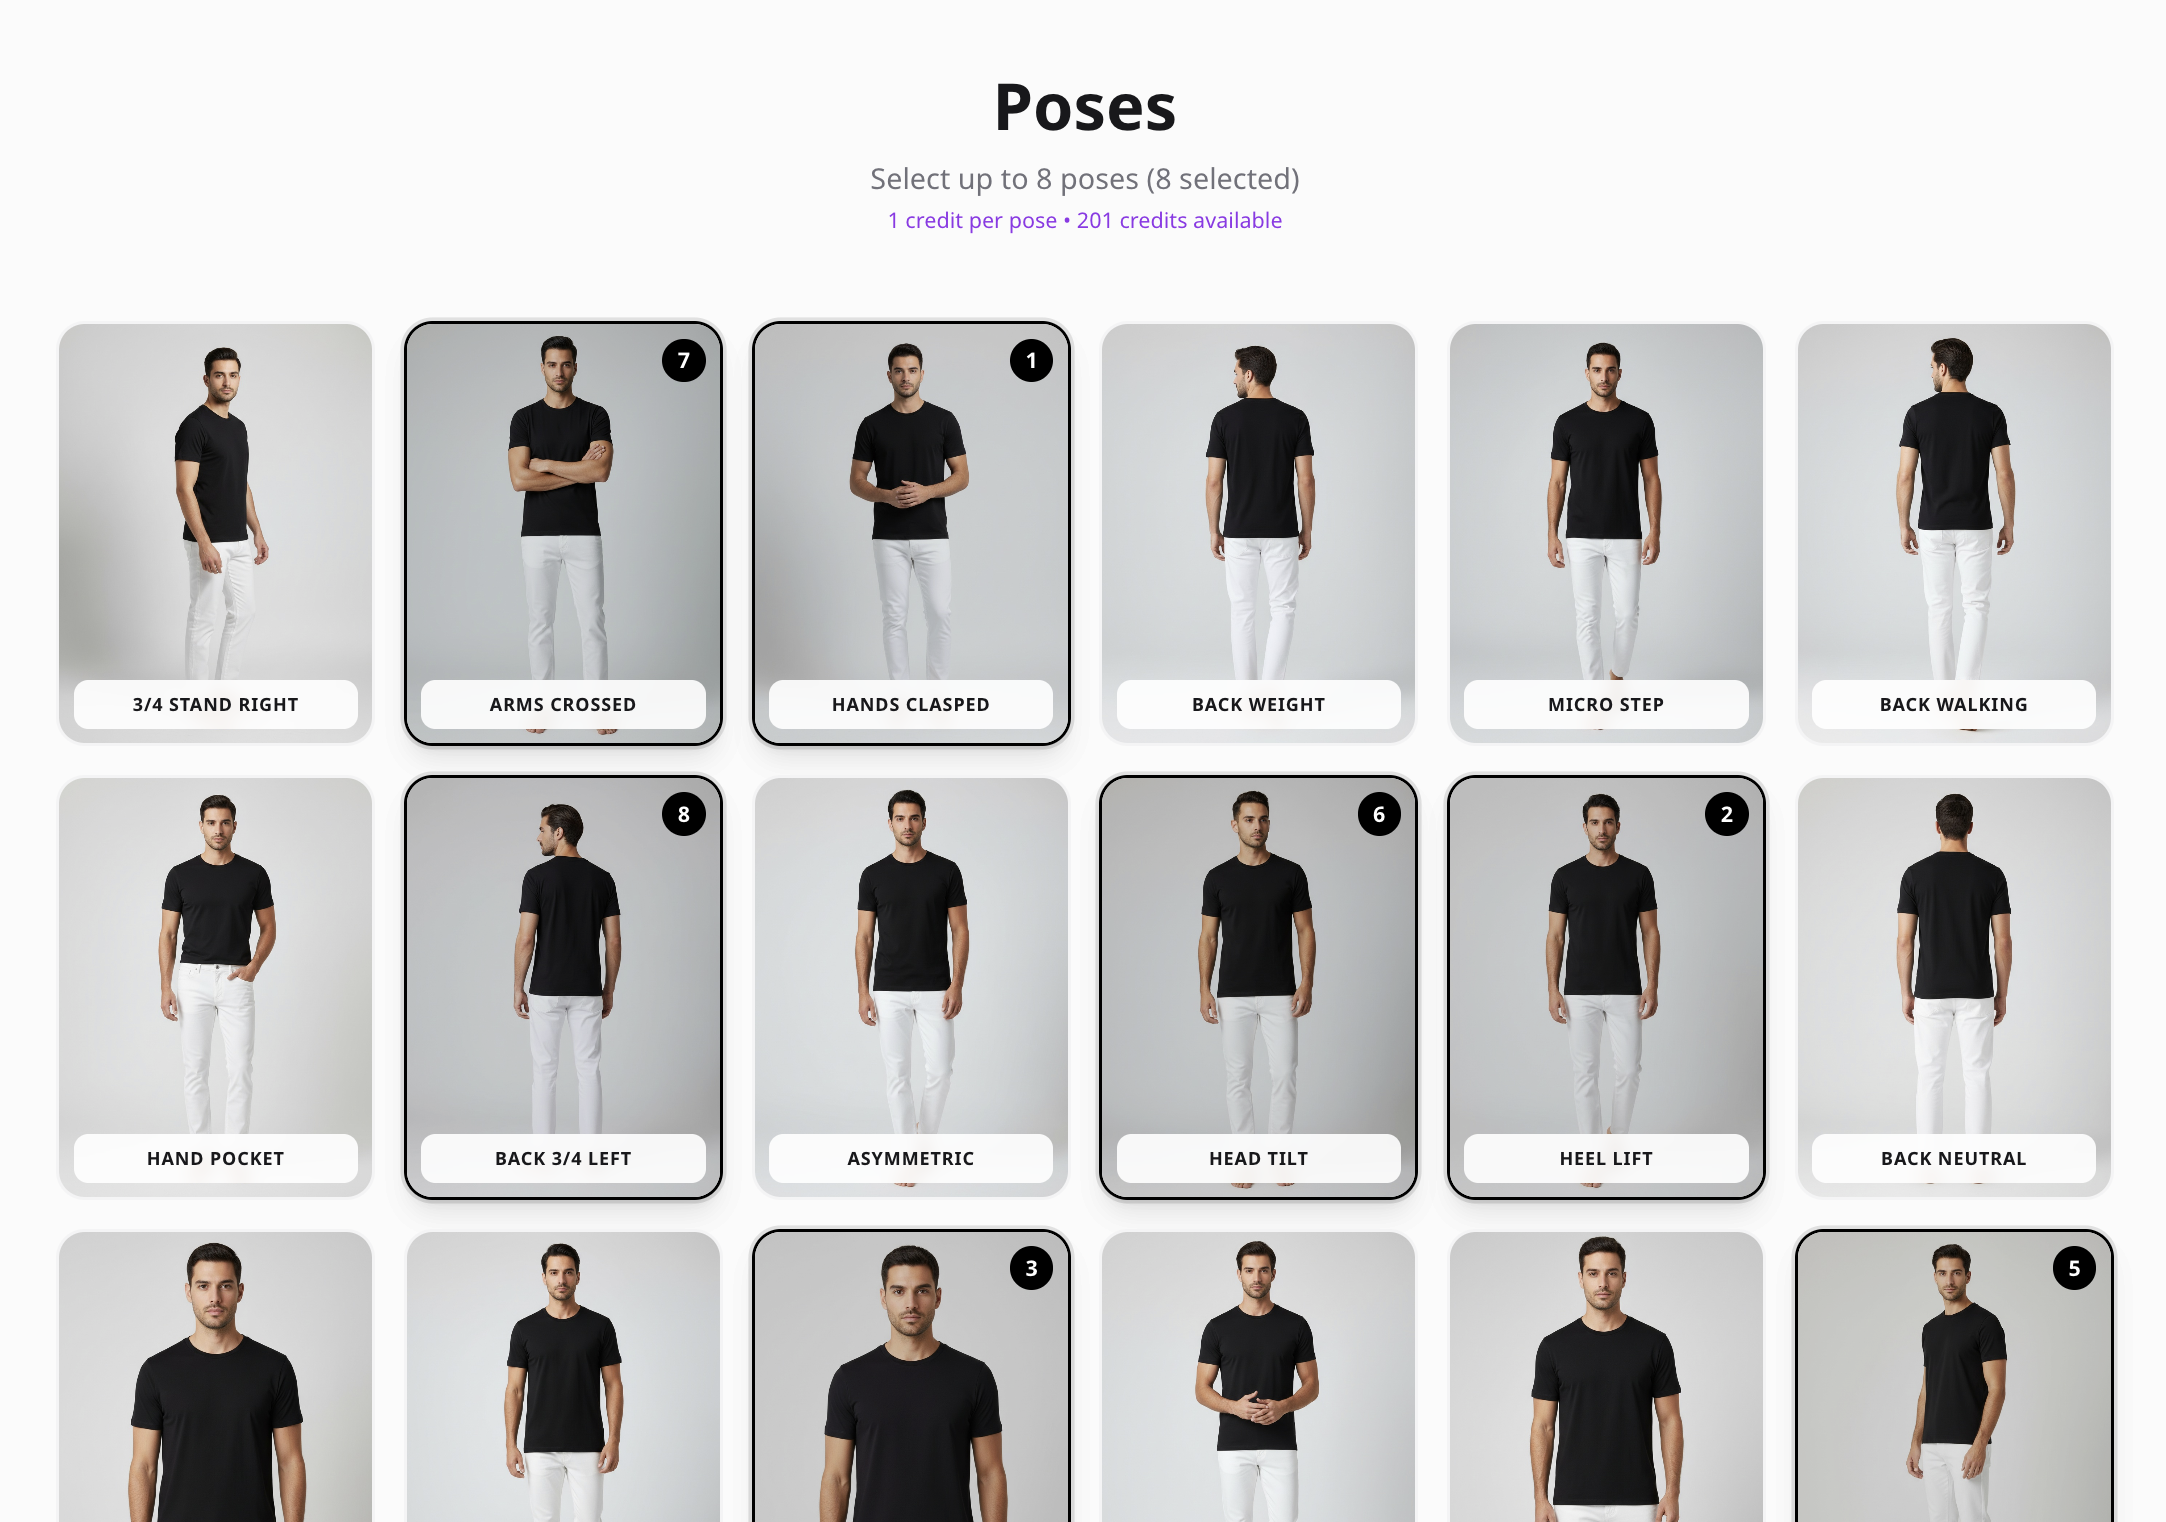
7. Selecting Poses
In this step, you choose how the model will stand or move in the generated images, similar to directing a model during a real studio photoshoot. The studio provides more than 20 professional poses designed for fashion photography. You can select up to 8 poses depending on your needs. This allows you to generate multiple images of the same product with different angles and presentations, helping you create a more complete and professional visual set for your store or marketing.
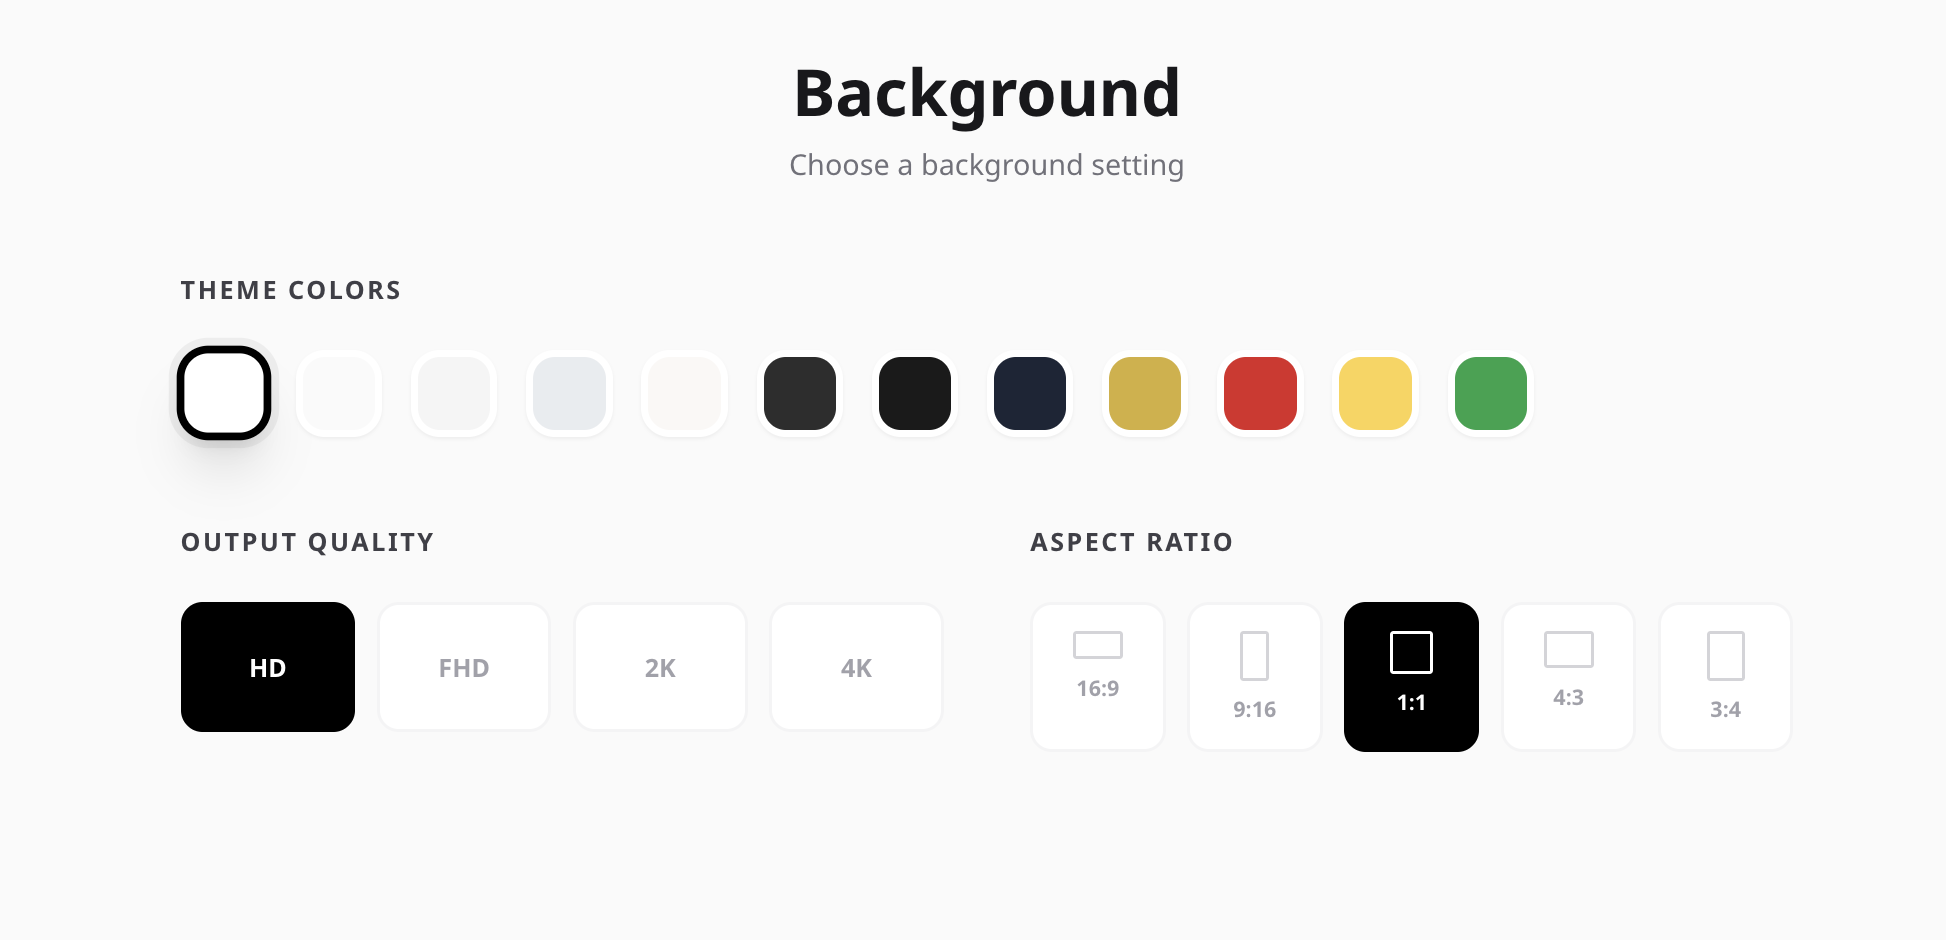
8. Background and Image Settings
In this step, you can customize the visual settings of the generated images. You can choose the background color that best fits your product or brand style. You can also select the image quality (HD, FHD, 2K, or 4K) depending on how detailed you want the final images to be. Higher quality produces sharper results. Finally, you can choose the aspect ratio of the image, such as square, vertical, or horizontal, depending on whether the images will be used for e-commerce, social media, banners, or marketing materials.
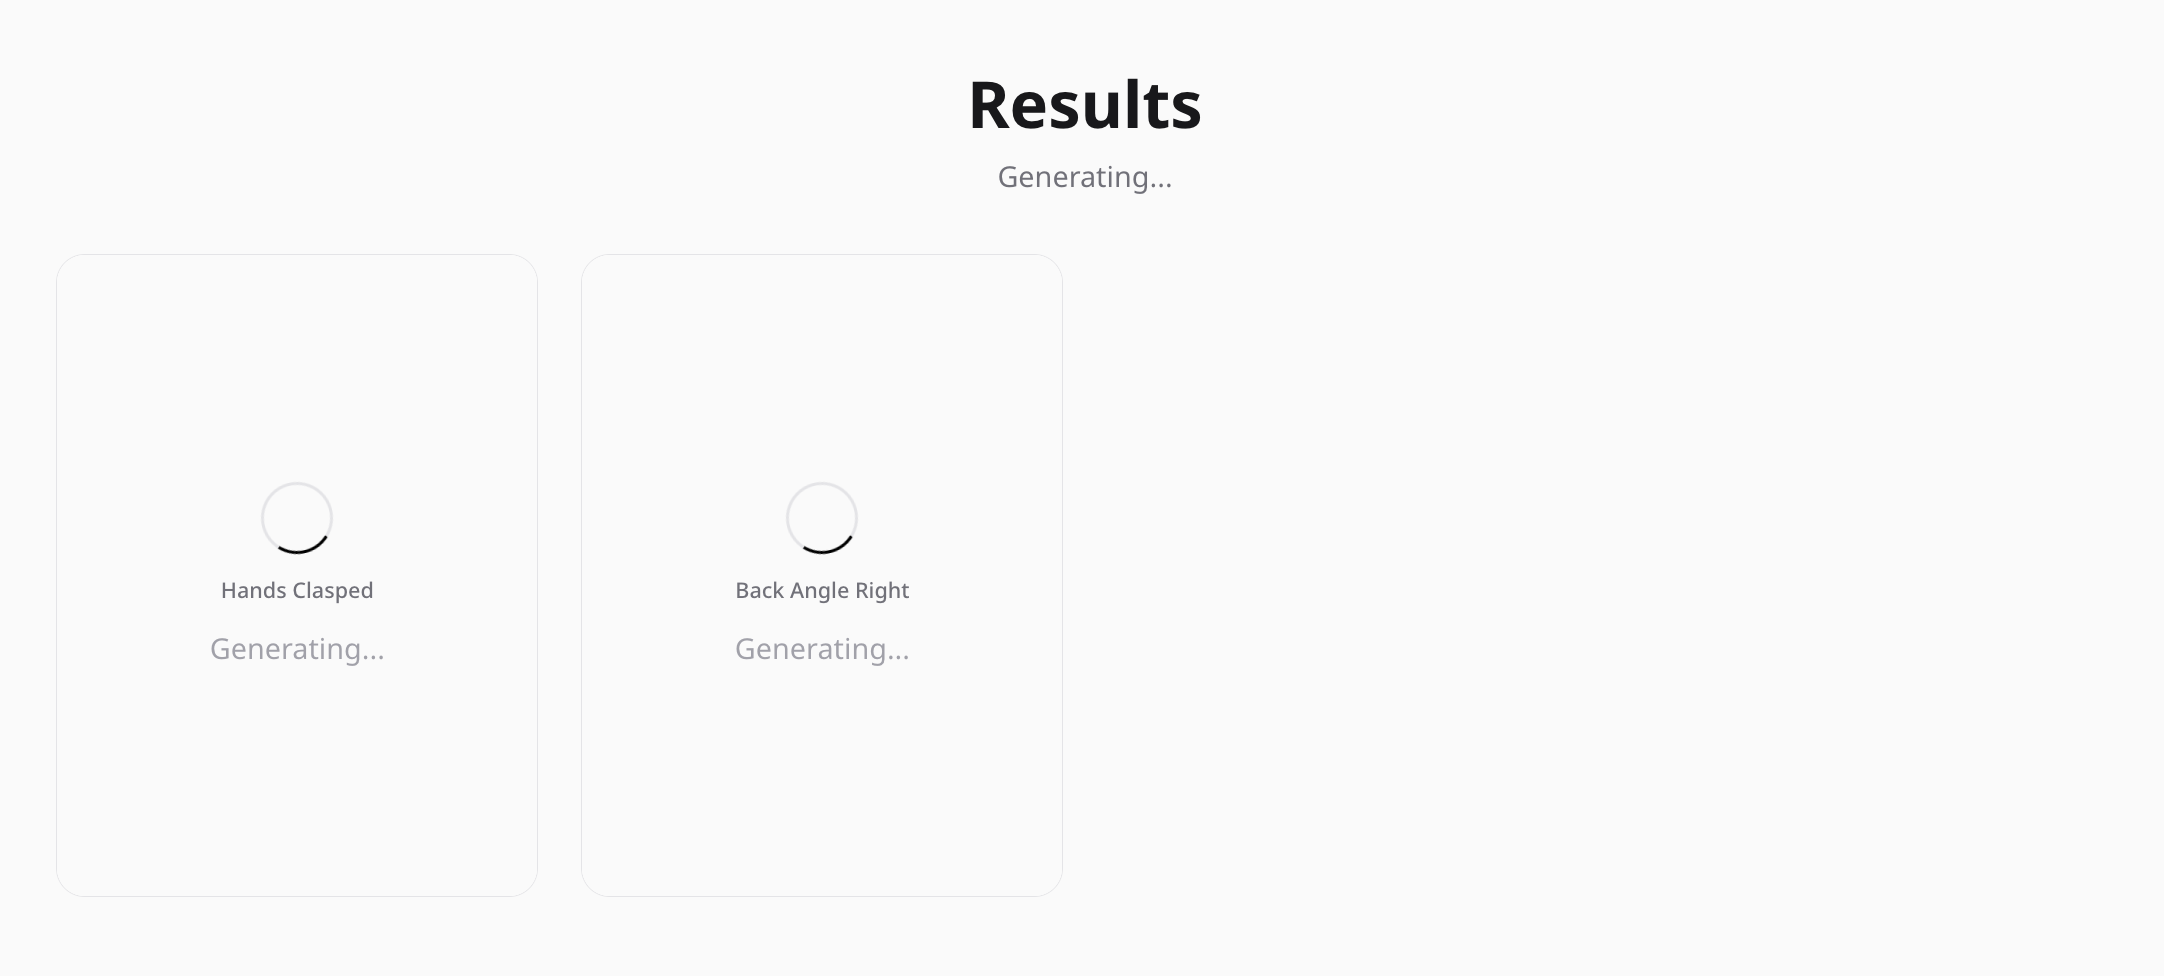
9. Generating the Results
After completing all the previous steps, the system begins processing your request and generating the images. This usually starts within a few seconds. Each selected pose will generate a separate image. The generation time typically ranges between 1 to 2 minutes per image, depending on the selected image quality and settings. Once the process is complete, your images will appear in the results section and will be ready for preview and download.

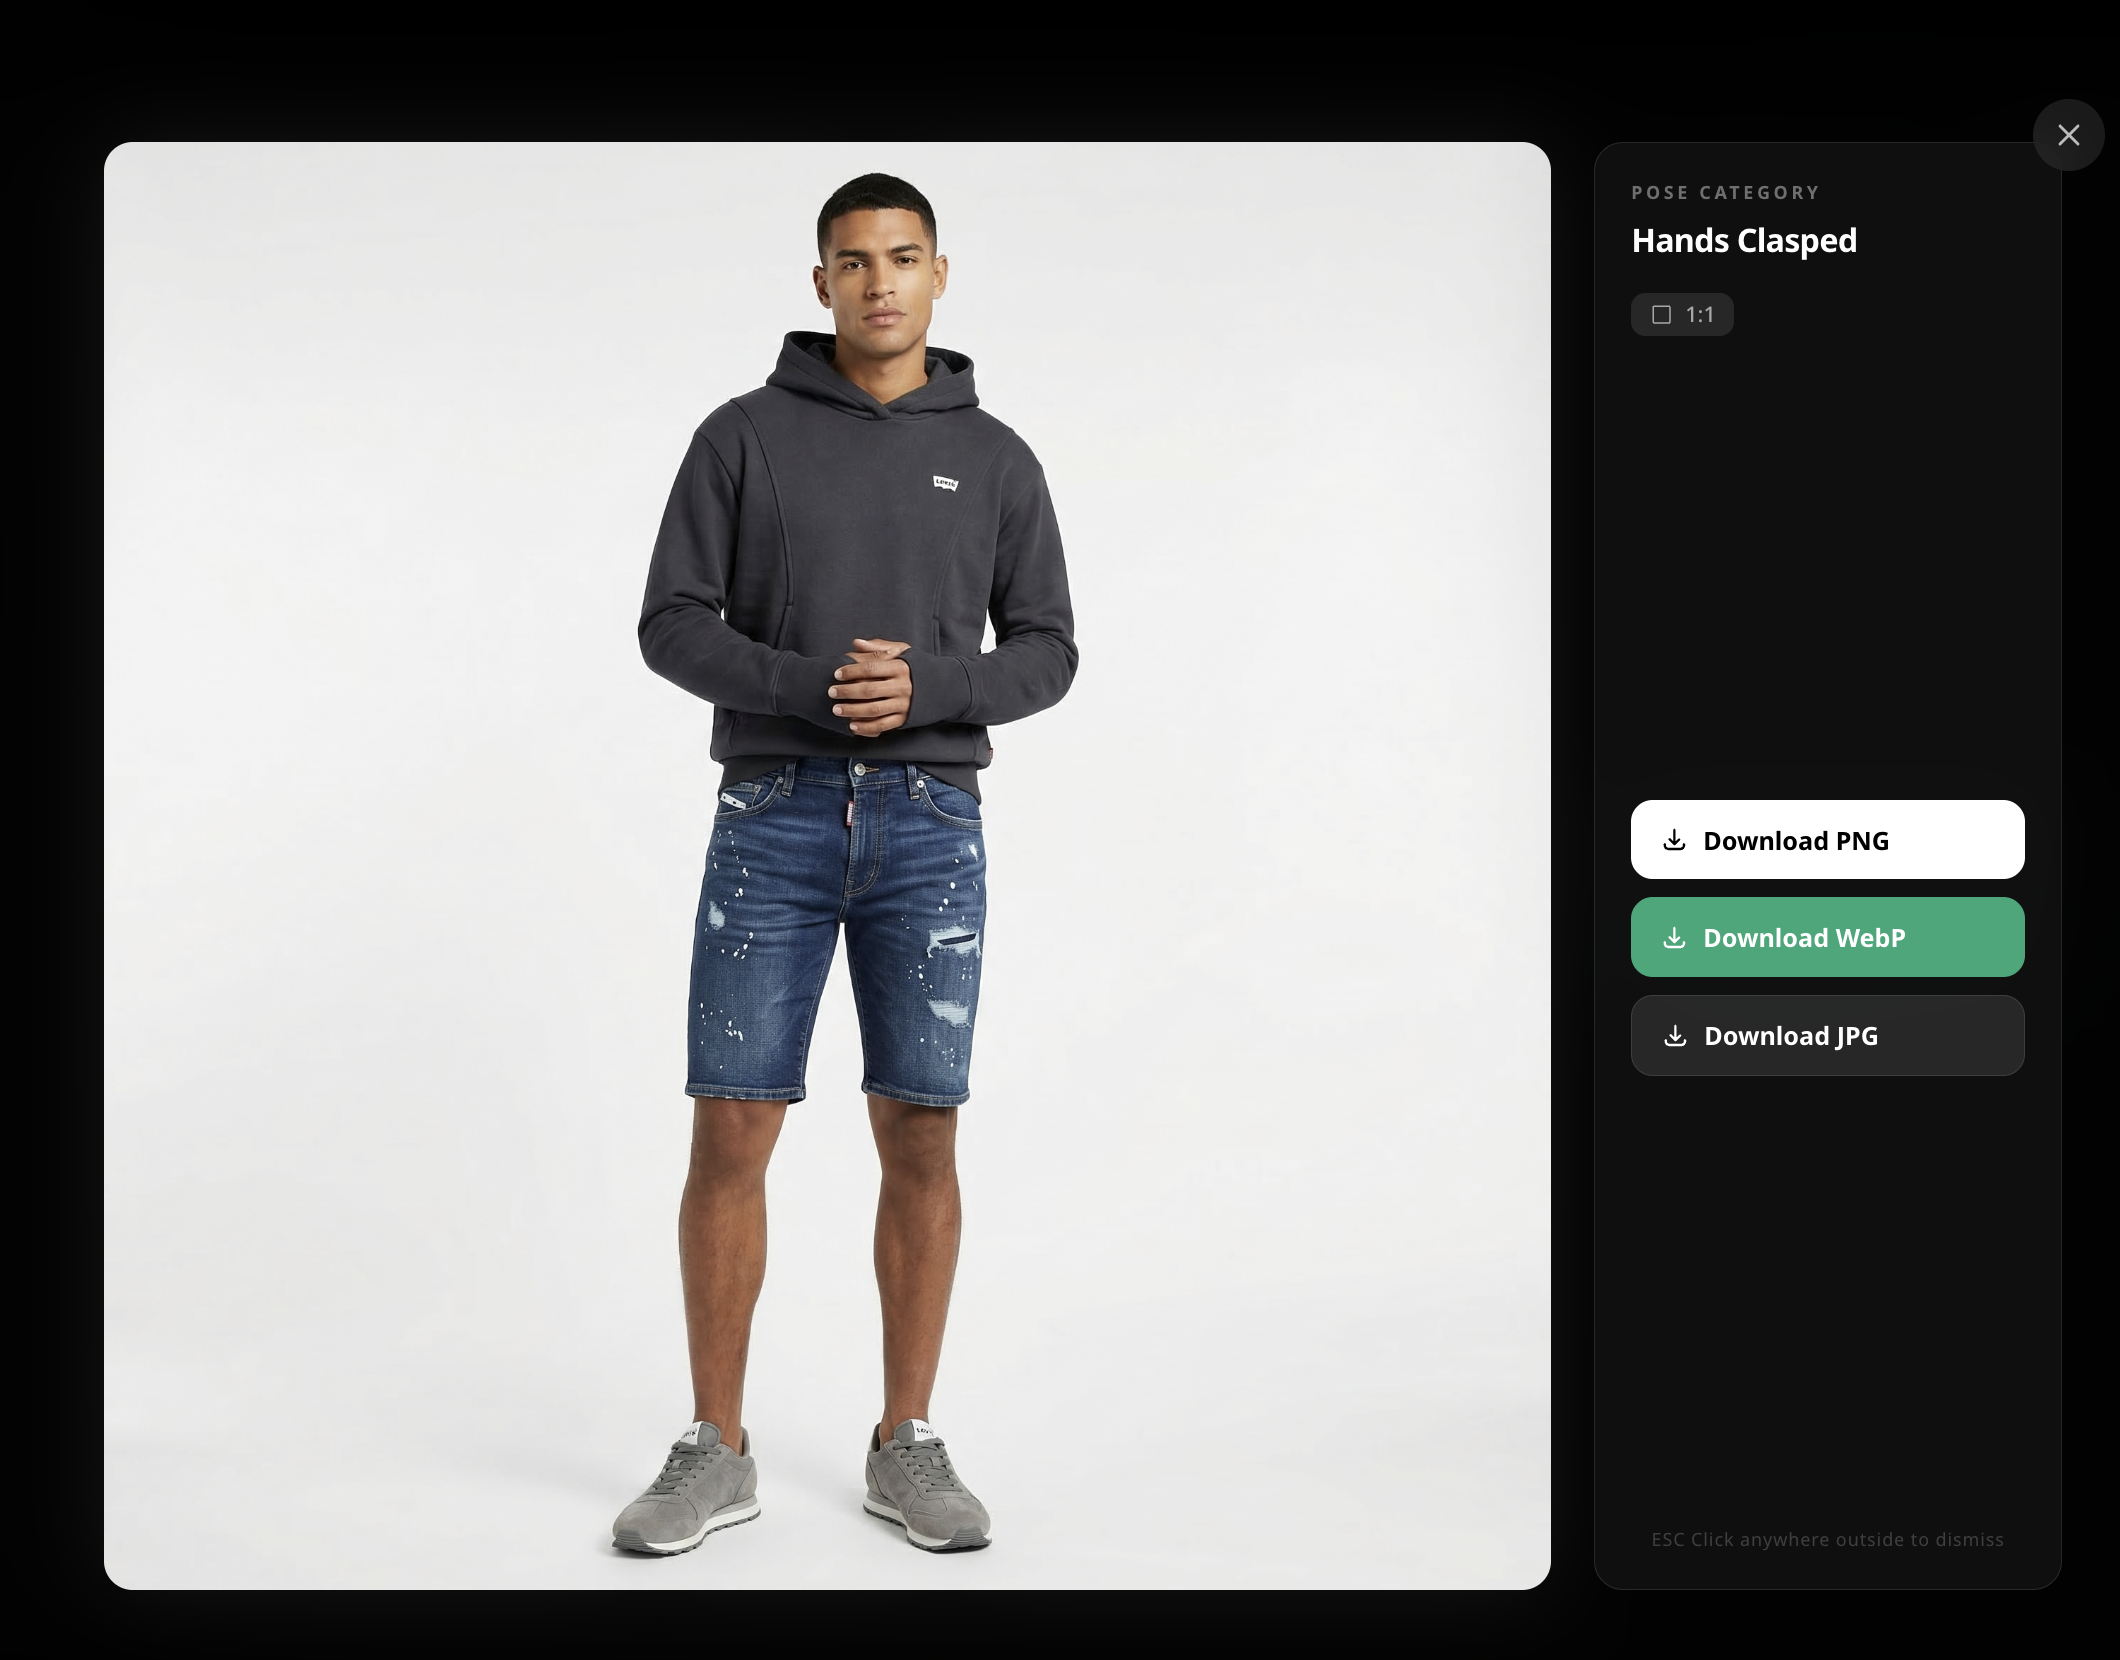
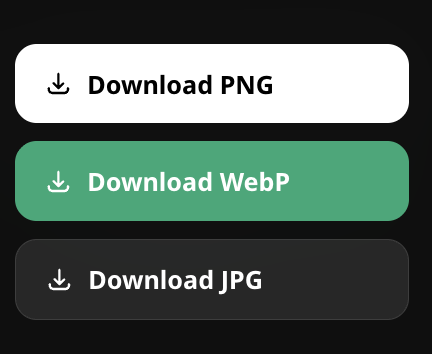
10. Viewing and Downloading the Results
Once the generation process is complete, your images will appear in the results section in high quality, as shown in the example. You can open any image to preview it in full size before downloading. ROKON allows you to download images in multiple formats such as PNG, JPG, and WebP. We understand that most online store owners need images that maintain high quality while keeping file sizes small for faster website loading. For this reason, WebP is often the best option. It provides excellent image quality with a significantly smaller file size, making it ideal for e-commerce websites.

Ready to transform your visual catalog?
Join the fashion revolution today and start generating high-end editorial visuals in seconds.